
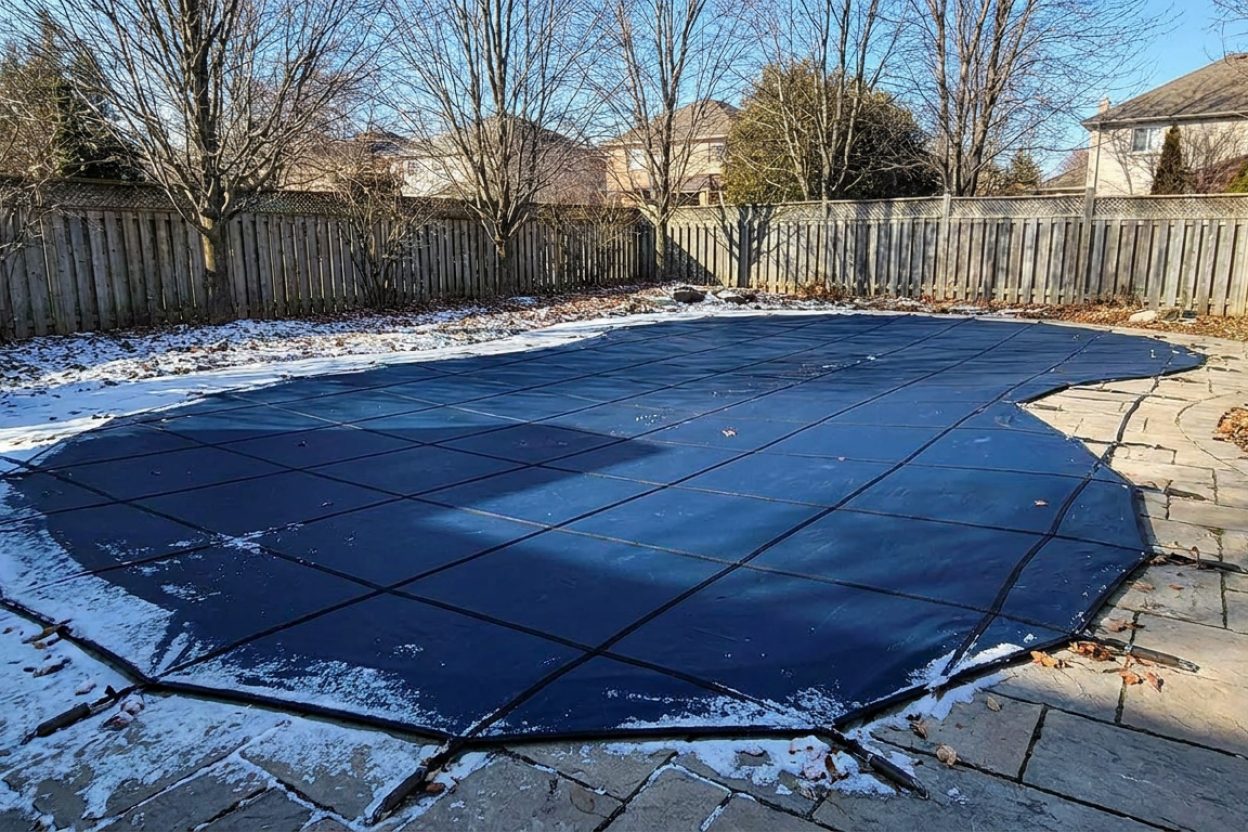
What Pool Hardware to Remove for Winter Closing

Which pool hardware needs to come out before winter closes in?
Read full question
During our first serious walkthrough to prep the pool for closing, my husband pointed out that we had no idea which pieces of hardware actually need to come out for winter — and now I can't stop second-guessing everything. He's convinced the ladder has to come out but thinks the underwater light can stay. I honestly don't know who's right.
We've got a standard inground pool with a stainless steel ladder, two handrails, one underwater light, the skimmer basket, return eyeballs, and a floating thermometer that's been in there all summer. Nobody ever told us the rules, and I don't want to either pull things out that should stay or leave in something that's going to crack or get damaged over winter.
Is there a reliable way to figure out what comes out and what can safely stay in? I'd love a breakdown by item so we can go through the checklist together this weekend.
Quick Answer
Most small plastic and removable fittings — return eyeballs, skimmer baskets, floating accessories — should come out before closing. Ladders and handrails are generally recommended to be removed to prevent freeze damage and liner stress. Underwater lights and permanently bonded fixtures stay in place. Use our full closing checklist to make sure nothing gets missed.
The Short Version: What Comes Out, What Stays Put
Knowing what pool hardware to remove for winter and what to leave installed is based on a few key risks: freezing water, expansion pressure, and material stress. Once you grasp the purpose behind each action, the choices are much clearer. Here's a component-by-component guide you can follow during your weekend closing project.
The Ladder and Handrails
Recommendation: Remove them. This is a common point of discussion, but the logic is sound. Most ladders and handrails sit in anchor sockets (anchor cups) embedded in the deck, under a trim escutcheon. In freezing climates, water that gets into these sockets can expand, potentially cracking the deck or deforming the socket. Removing the parts prevents this. Furthermore, leaving them in stagnant winter water can lead to corrosion or staining, especially on less durable metals, and places extra strain on the anchors.
Taking them out is usually straightforward: loosen any locking screws and lift them from their sockets. Store them somewhere dry, like a garage. After removal, insert a winter plug, foam backer rod, or a tight cover into each empty socket to block debris. This is a standard, essential step outlined in any reliable pool winterizing guide.
Return Eyeballs (Return Jets)
Remove them. These small directional fittings unscrew from the return inlets, typically with a quarter to half turn counterclockwise. The process takes seconds per jet. They are removed because, after you blow out and plug the plumbing lines, they serve no purpose and can crack if trapped water freezes inside them. Keep them together in a sealed bag or container over the winter. You will install winterizing plugs directly into the open return inlets.
The Skimmer Basket
Remove it. The plastic skimmer basket is not built to withstand ice pressure; freezing water in the skimmer throat can crush or distort it. Take it out, clean it, and store it with your other parts. The skimmer itself requires separate winterizing, which may involve blowing out and plugging the skimmer line, installing a freeze protection plug (like a Gizzmo), or placing a partially-filled plastic bottle inside to absorb ice expansion. Your specific method depends on your local climate and winterization plan; consult your winterizing guide for regional advice.
The Underwater Light
Leave it in place. Contrary to what some may think, the underwater light is a permanent, sealed fixture and should not be removed. It is electrically bonded and grounded, designed for continuous submersion. Trying to pull it out can compromise the waterproof seal, damage the bonding wire, and create an electrical safety issue. The light niche is engineered to allow water around it to freeze without harming the fixture.
Important: If the light lens is cracked, the seal looks worn, or you've experienced electrical problems, have a qualified pool electrician inspect it before you close the pool—not when you reopen it.
The Floating Thermometer
Remove it. It’s a small item that's easy to overlook, but a floating thermometer left in freezing water will likely break. Repeated freeze-thaw cycles damage plastic and glass. Simply take it out, rinse it, and store it with your pool supplies for the next season.
Other Small Fittings Worth Checking
- Pressure gauge on the filter: It is often advised to remove this for winter storage. If water remains inside the gauge, freezing can cause it to crack.
- Pool cleaner and hoses: Take out any automatic cleaner, its hoses, and disconnect the booster pump. Drain them and store indoors.
- Chlorinator or chemical feeder inline fittings: These should be drained and disconnected as part of winterizing the equipment pad.
- Pool toys, floats, and solar covers used during the season: All of these must be removed, dried, and stored. Winter sun and freezing temperatures will degrade them.
A Useful Way to Think About the Decision
If you're uncertain about any piece of equipment, ask yourself two questions: Is this a permanently installed, sealed component? And Could it trap water that might freeze and expand? Generally, any removable fitting that contacts water should be taken out. Permanent, sealed fixtures that are part of the pool's bonded electrical or structural system should remain. This rule covers most decisions you'll face.
For a full sequence covering the equipment pad, plumbing, water chemistry, and cover placement, our pool winterization guide is a helpful resource to review beforehand. Following the correct order—particularly blowing out lines before plugging them—is crucial for preventing freeze damage over the winter.
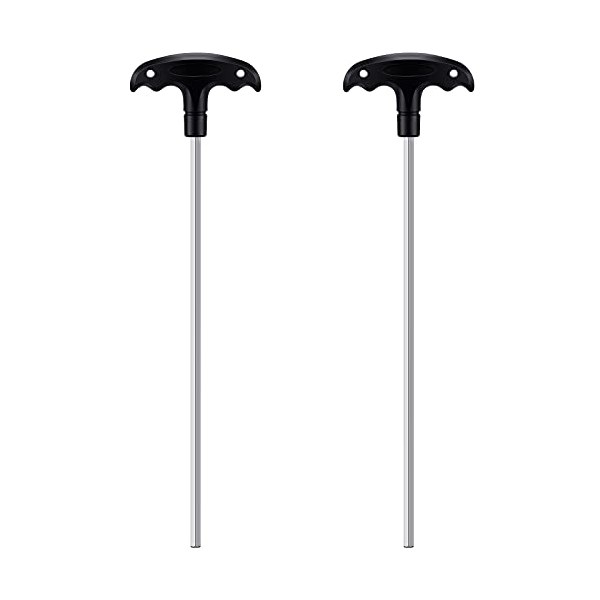 Pool Safety Cover Hex Key Tool (2-Pack)
Hex keys to install or remove a pool safety cover. View on Amazon →
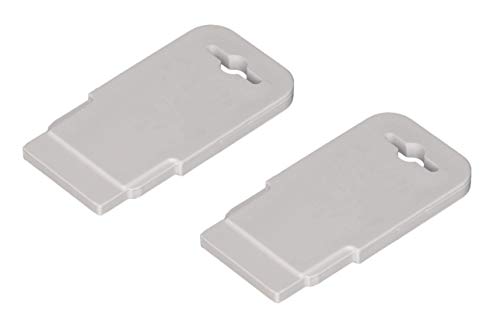 Pool Eyeball / Return Jet Fitting Removal Tool (ATIE)
Pops out & reseats Hayward SP1419 return-jet eyeballs — handy for closing. View on Amazon →
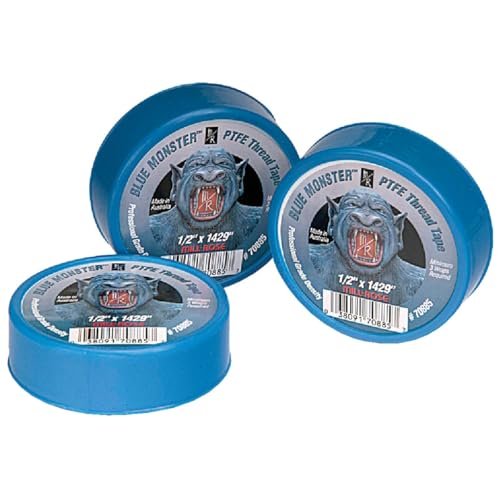 Blue Monster PTFE Thread Seal Tape (1/2 in × 1429 in)
Heavy-duty thread tape for leak-free pool plumbing fittings — stops suction-side air leaks. View on Amazon →
Still need help? Ask a Pool & Spa Expert AD
Get a personalized answer from PoolGuy810 — 30 years owning a pool and spa repair company. Describe your issue and get step-by-step help.
Related Pool Guides
Need More Help?
Try our free pool calculators and tools to help diagnose and fix your pool problems.
Browse Pool ToolsSLAM calculator, pH calculator, salt dosing & more