
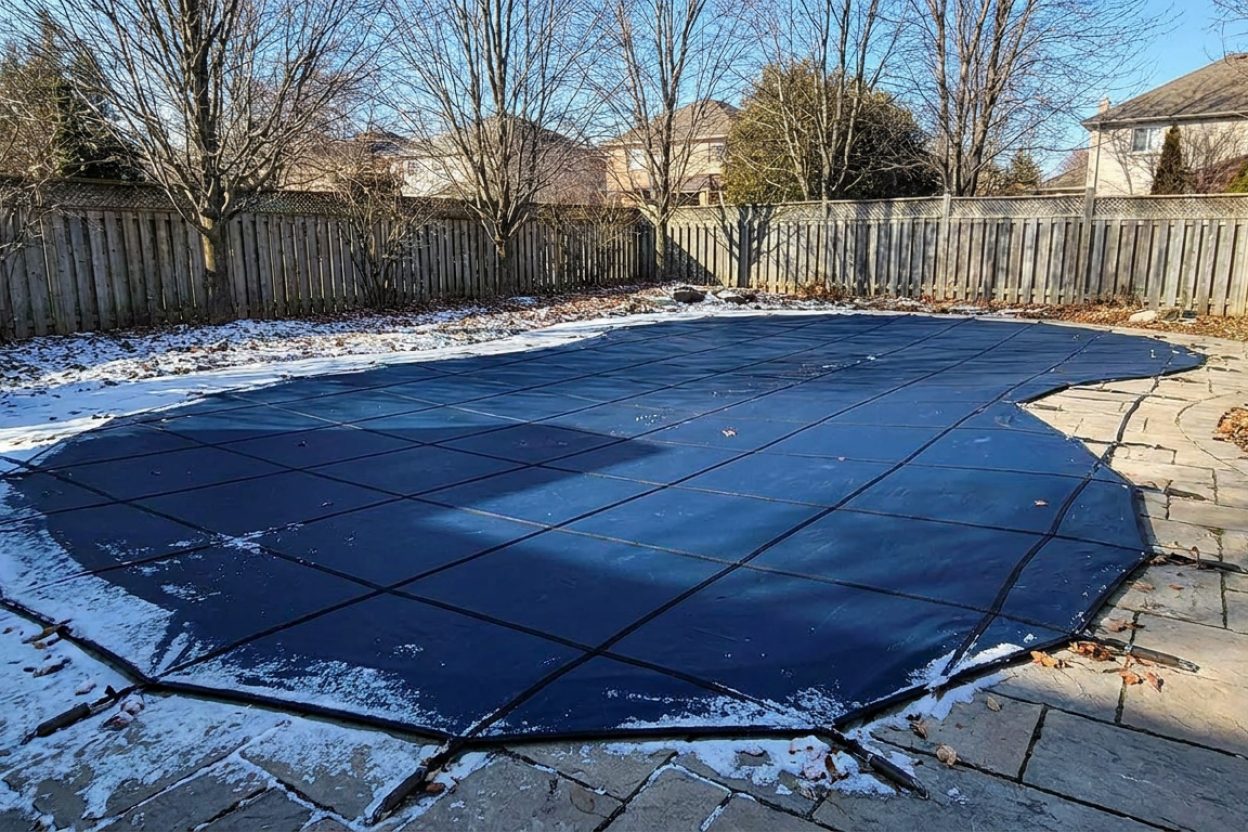
How to Winterize Your Main Drain When Closing a Pool

Is It Dangerous to Leave the Main Drain Unattended When Closing My Pool?
Read full question
During the pool closing process this fall, I realized I have no idea what to actually do with the main drain in my deep end — and it's starting to worry me. My kids play back there in the spring before the pool is fully open, and the thought of a cracked pipe underground that I can't see or fix easily is genuinely stressing me out. Every person at the pool store tells me the main drain is the 'tricky part' and that I need to handle it carefully, but not a single one has explained the actual steps.
Do I blow it out the same way I do the skimmer lines and return lines? Do I plug it somehow? Or do I just leave water sitting in it and hope for the best? I have a standard inground pool with one main drain in the deep end and a multiport valve setup at the equipment pad. I want to make sure I'm doing this right so I'm not dealing with a frozen, cracked underground pipe come spring.
Quick Answer
When closing an inground pool, the main drain is winterized by blowing air through the line until you see sustained bubbles at the drain, then quickly closing its isolation valve to create an air lock — you do not plug the drain itself at the pool floor. The air lock keeps water from sitting in the underground pipe where it could freeze and crack. Once the valve is shut and confirmed closed, the main drain line is fully protected.
Main Drain Winterizing Checklist
Many pool owners find the main drain confusing when winterizing, but the core concept is straightforward: you establish an air lock within the pipe. This pressurized air pocket, not a physical plug in the drain itself, keeps water out of the underground line to prevent freeze damage. Follow these steps to properly secure your main drain for winter.
What You'll Need
- An air compressor or pool line blower; a shop vac set to blow may be insufficient for deep lines, so watch for bubbles before relying on it
- Correct hose adapters or fittings to connect your air source to the pool's plumbing
- Access to the main drain's isolation valve at your equipment pad
- A threaded rubber winterizing plug sized for the main drain line at the pad
- A helper can be beneficial—one person can watch the pool while the other manages the valve
Before You Begin: Verify Your Valve Configuration
☐ Locate the main drain isolation valve on your equipment pad. On most inground pools, this is a dedicated ball or gate valve. Confirm it opens and closes smoothly before starting the blowout.
☐ The blowout is performed from the equipment pad with the pump OFF. The blower or compressor typically connects at the pump's drain-plug port or via an adapter in the pump basket, depending on your system.
Blowing Out the Main Drain Line
☐ Isolate the main drain. Begin by closing any valves for skimmer lines to direct all airflow exclusively to the main drain circuit.
☐ Open the main drain valve fully and attach your air compressor or blower. Start forcing air into the line.
☐ Observe the pool's deep end. You need to see a steady stream of bubbles rising from the main drain grate. This confirms air has traveled the entire pipe length and is displacing water. Allow the bubbles to continue for a sustained duration—often 30 seconds to a minute, or longer for deep pools or long pipe runs. The objective is to achieve a continuous air flow.
☐ With the air still actively blowing and bubbles clearly visible, have your helper swiftly and firmly close the main drain isolation valve. This timing is critical: shutting the valve against live airflow creates the pressurized air lock. Stopping the blower before closing the valve will let water flow back in.
Confirming the Air Lock Is Established
☐ After the valve is shut, you can turn off your air compressor or blower.
☐ Verify the main drain valve is completely closed. Even a minor opening can permit water to slowly seep back over the winter, undermining the air lock.
☐ As an extra precaution, many owners also thread a rubber winterizing plug into the main drain line at the pad (on the pump side of the closed valve), so the air lock remains intact if the valve develops a minor leak over time.
☐ Ensure the valve stays closed. Some older or worn gate valves may not hold their position reliably. If yours feels loose, consider having it inspected or replaced.
What About Plugging the Drain at the Pool Floor?
This is typically unnecessary, as protection comes from the air lock created at the equipment pad; plugging at the floor requires working in the deep end, which is a task for a diver or a pool professional.
If Your Main Drain Lacks a Dedicated Valve
On some pools, the main drain is connected to the bottom of a skimmer rather than having its own line and valve at the pad. In this case, you blow air down that skimmer port until bubbles emerge at the main drain, then plug the port in the skimmer while air is still flowing, which traps the air lock in the same manner. If you're unsure how your drain is plumbed, ask a pool professional to show you.
Integrating This With Your Overall Closing Process
☐ Once the main drain is secure, proceed to blow out and plug your skimmer and return lines following your standard procedure.
☐ Before finishing, double-check that all valves—for skimmers, returns, and the main drain—are fully closed.
☐ For a complete walkthrough that includes water chemistry and cover installation, see our detailed pool winterization and closing guide.
Final Note on Protecting Underground Pipes
The air lock method is the industry standard for safeguarding underground plumbing. When performed correctly, the trapped air prevents water from occupying the rigid PVC pipe leading to the drain. With no water present to freeze and expand, the line is safe from cracking. This reliable technique is why professionals use it.
If you are unsure about your valve's seal or your pool has an older configuration without a dedicated main drain valve, consulting a pool professional for a hands-on demonstration can provide clarity for future closings.
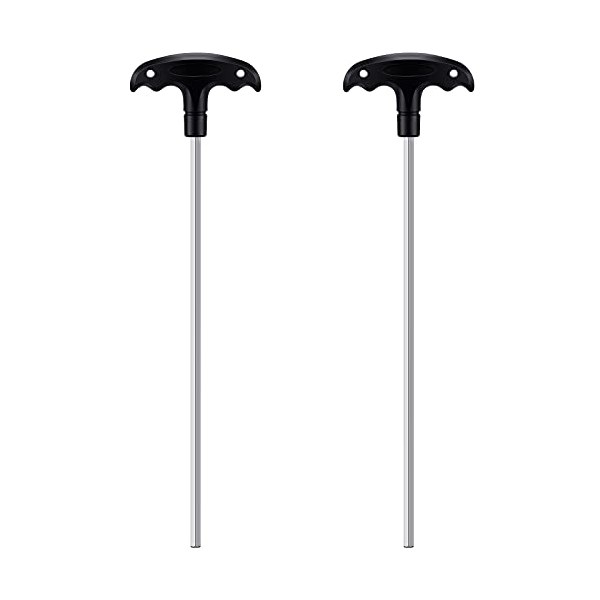 Pool Safety Cover Hex Key Tool (2-Pack)
Hex keys to install or remove a pool safety cover. View on Amazon →
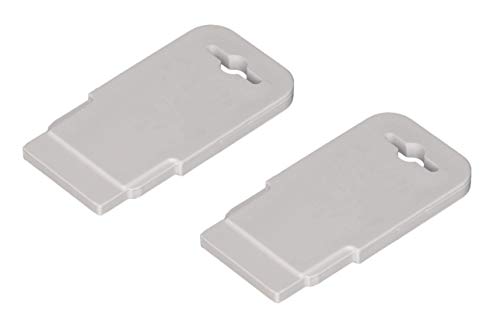 Pool Eyeball / Return Jet Fitting Removal Tool (ATIE)
Pops out & reseats Hayward SP1419 return-jet eyeballs — handy for closing. View on Amazon →

Still need help? Ask a Pool & Spa Expert AD
Get a personalized answer from PoolGuy810 — 30 years owning a pool and spa repair company. Describe your issue and get step-by-step help.
Related Pool Guides
Need More Help?
Try our free pool calculators and tools to help diagnose and fix your pool problems.
Browse Pool ToolsSLAM calculator, pH calculator, salt dosing & more