
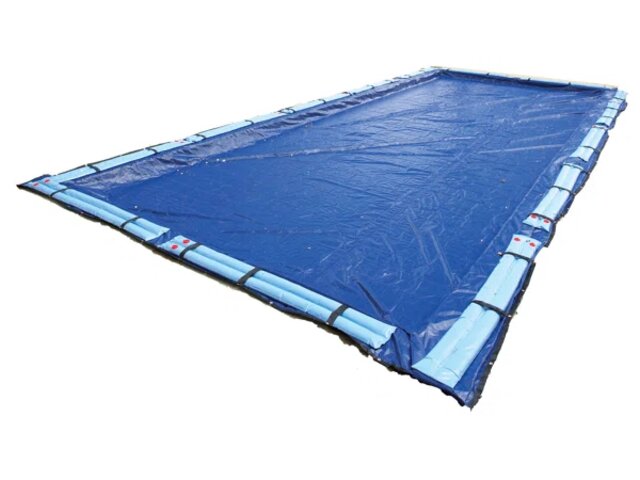
What Goes in Your Skimmer When Closing for Winter?

What Actually Goes in the Skimmer When Closing for Winter?
Read full question
Found myself in a debate with a neighbor and now I'm second-guessing everything I thought I knew about winterizing my inground pool. We get legitimate hard freezes here — not just a few nights of light frost — and I want to make sure I'm not cracking my skimmer housing this year.
My neighbor swears by dropping a half-filled milk jug into the skimmer and calling it a day, but a guy at the pool store told me I really need antifreeze poured in there or my skimmer will crack no matter what. A friend who closed pools professionally said just blow the lines and plug it — no antifreeze needed. Now I've got three different opinions and I'm reading about Gizzmos, rubber expansion plugs, foam backer rod, and antifreeze on top of all of it.
After blowing out the skimmer line with a shop vac, what actually needs to go into the skimmer, in what order? Is the antifreeze genuinely necessary or is that the pool store upselling me? And does it matter whether I use a Gizzmo versus a rubber plug versus the milk jug trick?
Quick Answer
After blowing out the skimmer line, the correct sequence is: blow the line dry, plug the skimmer port with a winter plug or Gizzmo, then place a compressible buffer (a Gizzmo threaded in, or a capped half-filled bottle/milk jug) inside the skimmer body to absorb ice expansion. Antifreeze is an optional backup for lines that couldn't be fully cleared — it is not a substitute for plugging and not required when lines are properly blown out.
Why Skimmers Crack in Winter — and What Actually Prevents It
Winter damage stems from a straightforward physical property: water expands as it freezes. Inside the rigid skimmer housing or its connected pipes, this expansion generates tremendous pressure. Without a way to relieve that pressure, cracks can form. The key to prevention is removing any liquid water that could become trapped and freeze against these inflexible surfaces.
Popular suggestions—such as Gizzmos, rubber plugs, plastic jugs, or antifreeze—all aim to solve this fundamental issue. Their success depends heavily on applying them to the correct part of the skimmer system. Below, we identify the specific areas requiring attention.
The Two Zones You're Actually Protecting
Zone 1: The Skimmer Port (the pipe leading to the pump)
This point of connection is the most vital. After you have used a shop vac or air compressor to force all water from the plumbing line, you must seal the port to stop rain or melting snow from entering and refreezing. The typical method is a winter expansion plug, a threaded rubber device made for this job. It is crucial to use the correct size for your skimmer’s port, often 1½-inch or 2-inch; verify the diameter based on your model. Its built-in O-ring creates the seal; tighten it to manufacturer specification, as excessive force can harm the fitting.
As an optional extra step, some installers place a piece of closed-cell foam rope or backer rod down into the skimmer port before inserting the plug. This creates a compressible material inside the pipe itself. This foam is not a replacement for blowing out and plugging the line; remember to remove it when you reopen the pool.
A Gizzmo or similar threaded winterizing device serves two functions. It screws into this port to seal it while also acting as a compressible buffer within the skimmer body. Confirm the threading matches your skimmer.
Zone 2: The Skimmer Body (the basket well itself)
Even with a sealed port, the open skimmer bowl will collect precipitation that will freeze. To stop this ice from damaging the housing, place a compressible buffer inside the well. As ice forms and expands, it will squeeze this object instead of the rigid plastic.
A widespread DIY option is a sealed plastic jug or bottle, filled about halfway with pool or RV (propylene glycol) antifreeze. A used antifreeze container with a little leftover liquid inside is the traditional choice; others use water or windshield washer fluid. The liquid adds weight to keep the jug settled in the skimmer, and antifreeze resists freezing solid, keeping the jug squeezable. The antifreeze remains sealed inside the jug — this is distinctly different from pouring antifreeze directly into the empty skimmer.
A Gizzmo that threads into the port also functions as a buffer in the surrounding area. In regions with severe winters, some pool owners combine a Gizzmo with a capped bottle inside the same skimmer well for extra assurance.
Where Antifreeze Actually Fits In
Antifreeze plays a specific, and sometimes overemphasized, role in skimmer winterizing.
- If your lines are fully cleared and plugged, adding antifreeze to the skimmer body is generally redundant, as it will be diluted by incoming rainwater.
- If a plumbing line could not be completely dried—perhaps a main drain or a return line—pouring a small amount of pool antifreeze into that line before plugging it can offer supplemental protection. Here, it goes inside the pipe, not the open skimmer bowl.
- If you do use it, only employ propylene-glycol antifreeze marked for pools or RV use. Avoid automotive antifreeze, which contains toxic ethylene glycol.
The Correct Sequence from Start to Finish
- Lower the pool water level beneath the skimmer opening. The proper amount varies with your cover type and local climate; consult your owner’s manual or a local professional for guidance.
- Remove the skimmer basket.
- Use a shop vac or compressor to blow the skimmer line clear back toward the equipment pad. Continue blowing air briefly after water stops flowing to help dry the line.
- At the equipment pad, close the relevant valve or plug the line to create an airlock.
- As an optional measure for added line protection, you may pour a small amount of pool antifreeze into the line.
- Seal the skimmer port by installing a winter expansion plug or threading in a Gizzmo. Confirm the seal is secure.
- Place a compressible buffer inside the skimmer body: this could be the protruding section of a Gizzmo, a half-filled capped jug (such as one partially filled with pool antifreeze), or a sealed bottle.
- Install the winter skimmer cover plate to keep leaves and debris out of the well.
For a comprehensive procedure covering your return jets, main drain, and equipment pad, see our detailed pool winterization closing guide. You can also utilize our pool closing checklist to make sure no step is overlooked.
So Who's Right — Your Neighbor or the Pool Store?
Your neighbor's basic approach is valid for a properly winterized pool. The milk jug method (typically filled halfway with pool antifreeze) is a time-tested, effective buffer. The pool store's focus on antifreeze is often exaggerated; it is a helpful optional safeguard for lines that may retain moisture, but it is not an essential requirement. The fundamental professional guidance—"blow it and plug it"—is accurate, with the inclusion of a compressible buffer for the skimmer body in areas that freeze.
The indispensable process is: clear the line, plug the port, and buffer the body. Everything else is supplementary insurance.
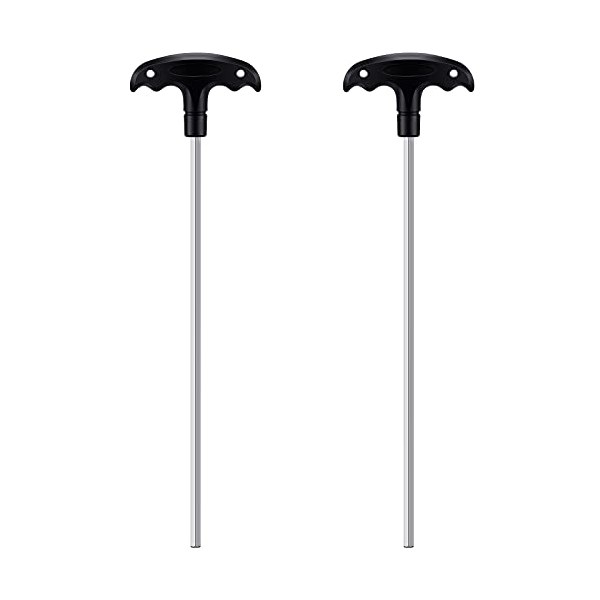 Pool Safety Cover Hex Key Tool (2-Pack)
Hex keys to install or remove a pool safety cover. View on Amazon →
Pool Safety Cover Hex Key Tool (2-Pack)
Hex keys to install or remove a pool safety cover. View on Amazon →
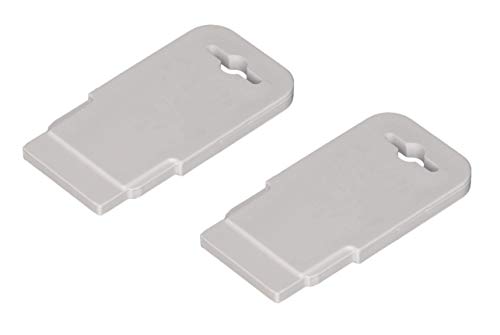 Pool Eyeball / Return Jet Fitting Removal Tool (ATIE)
Pops out & reseats Hayward SP1419 return-jet eyeballs — handy for closing. View on Amazon →
Pool Eyeball / Return Jet Fitting Removal Tool (ATIE)
Pops out & reseats Hayward SP1419 return-jet eyeballs — handy for closing. View on Amazon →
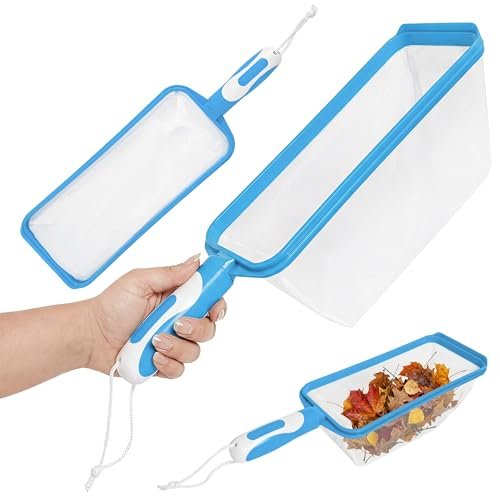 The Skimmie Handheld Pool Skimmer Net
Grab-and-go hand skimmer for leaves and debris off the surface. View on Amazon →
The Skimmie Handheld Pool Skimmer Net
Grab-and-go hand skimmer for leaves and debris off the surface. View on Amazon →
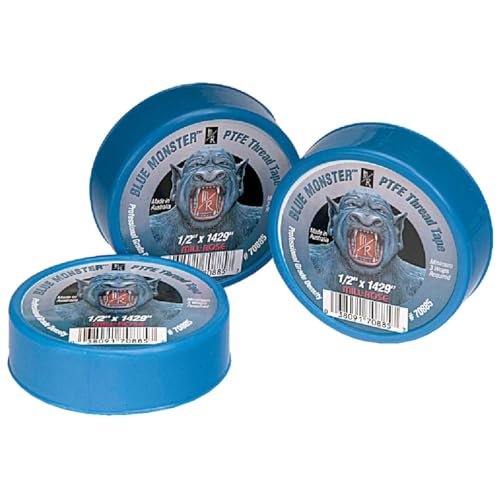 Blue Monster PTFE Thread Seal Tape (1/2 in × 1429 in)
Heavy-duty thread tape for leak-free pool plumbing fittings — stops suction-side air leaks. View on Amazon →
Blue Monster PTFE Thread Seal Tape (1/2 in × 1429 in)
Heavy-duty thread tape for leak-free pool plumbing fittings — stops suction-side air leaks. View on Amazon →
Still need help? Ask a Pool & Spa Expert AD
Get a personalized answer from PoolGuy810 — 30 years owning a pool and spa repair company. Describe your issue and get step-by-step help.
Related Pool Guides
Need More Help?
Try our free pool calculators and tools to help diagnose and fix your pool problems.
Browse Pool ToolsSLAM calculator, pH calculator, salt dosing & more