How to Install a Pool Heater: Complete Step-by-Step Guide

What's the proper way to install a new pool heater system?
Read full question
Getting quotes for a pool heater installation and they range from $2,500 to $6,000 depending on the contractor. Trying to figure out if I can tackle this myself to save some money. Got decent plumbing skills and already ran the gas line for our grill last year — is a pool heater install realistic for a handy homeowner?
Quick Answer
Pool heater installation involves careful planning of plumbing, electrical, and gas connections with strict adherence to local codes. While experienced DIYers can handle some aspects, gas line work and electrical connections typically require licensed professionals for safety and code compliance.
Planning Your Pool Heater Installation
Professional pool heater installation often runs $2,500-$6,000 once you include the unit and the required gas and electrical work. You can take on the placement and water plumbing yourself to save money, but the gas line and electrical hookups still need licensed pros — this guide shows where DIY ends and a licensed trade has to take over. The complexity varies significantly depending on whether you're replacing an existing unit or installing your first heater. I'd recommend starting with a thorough assessment of your current setup and local code requirements before proceeding.
Essential Preparation Steps
- Verify local permits and codes: Most municipalities require permits for heater installations, especially for gas units. Contact your local building department to understand requirements.
- Choose the optimal location: Position the heater on a level, stable surface with proper clearances. Most units need specific clearances on sides and above for ventilation - verify manufacturer requirements for your model.
- Check your electrical panel: Verify adequate amperage capacity for your specific heater model. Many units require dedicated 220V circuits - verify electrical requirements for your specific heater model.
- Plan the plumbing route: The heater should be the last component in your circulation system, typically installed after the filter and before return lines to the pool.
Step-by-Step Installation Process
1. Electrical Connections
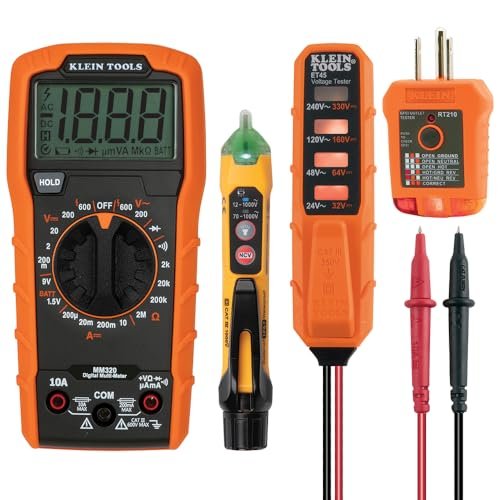
Start with the electrical work while the area is clear of plumbing obstacles. Install a dedicated circuit breaker sized to manufacturer specifications and run appropriate gauge wire to the heater location. Pool heaters typically require GFCI protection - verify electrical code requirements for your area and heater model. You'll want to leave electrical connections to a licensed electrician unless you're experienced with electrical work.
2. Plumbing Integration
Connect the heater into your circulation system using the appropriate pipe size - typically 2-inch PVC for most residential pools - verify pipe size requirements for your heater model. Install unions on both inlet and outlet connections to allow for future service. The water flow direction is critical: cold water enters from the filter side and heated water returns to the pool. Many installations benefit from bypass valves that allow you to isolate the heater for maintenance.
3. Gas Line Installation (Gas Heaters Only)
Gas line work must be performed by a licensed gas technician in most areas. The professional will size the gas line appropriately for your heater's BTU rating and run the line according to local codes. They'll also install the required shutoff valve and perform leak testing before startup.
4. Venting Requirements (Gas Heaters)
Proper venting ensures safe operation and prevents carbon monoxide buildup. Most modern pool heaters are designed for outdoor installation with natural draft venting, but you'll need to ensure adequate clearances from structures, windows, and air intakes. Critically, avoid installing a gas heater under a deck, soffit, eave, or other combustible overhang unless your manual's clearances are fully met — code generally requires at least several feet of vertical clearance and the space open on three sides - the space above the exhaust must stay open, and the required clearance to a combustible overhang is larger than to non-combustible surfaces. Follow your model's manual for the exact distances.
Critical Safety Considerations
Never attempt gas line connections without proper licensing and experience. Gas leaks can create serious safety hazards, and improper installation may void your homeowner's insurance. Similarly, electrical connections should meet local codes - improper wiring can create electrocution risks around pool areas.
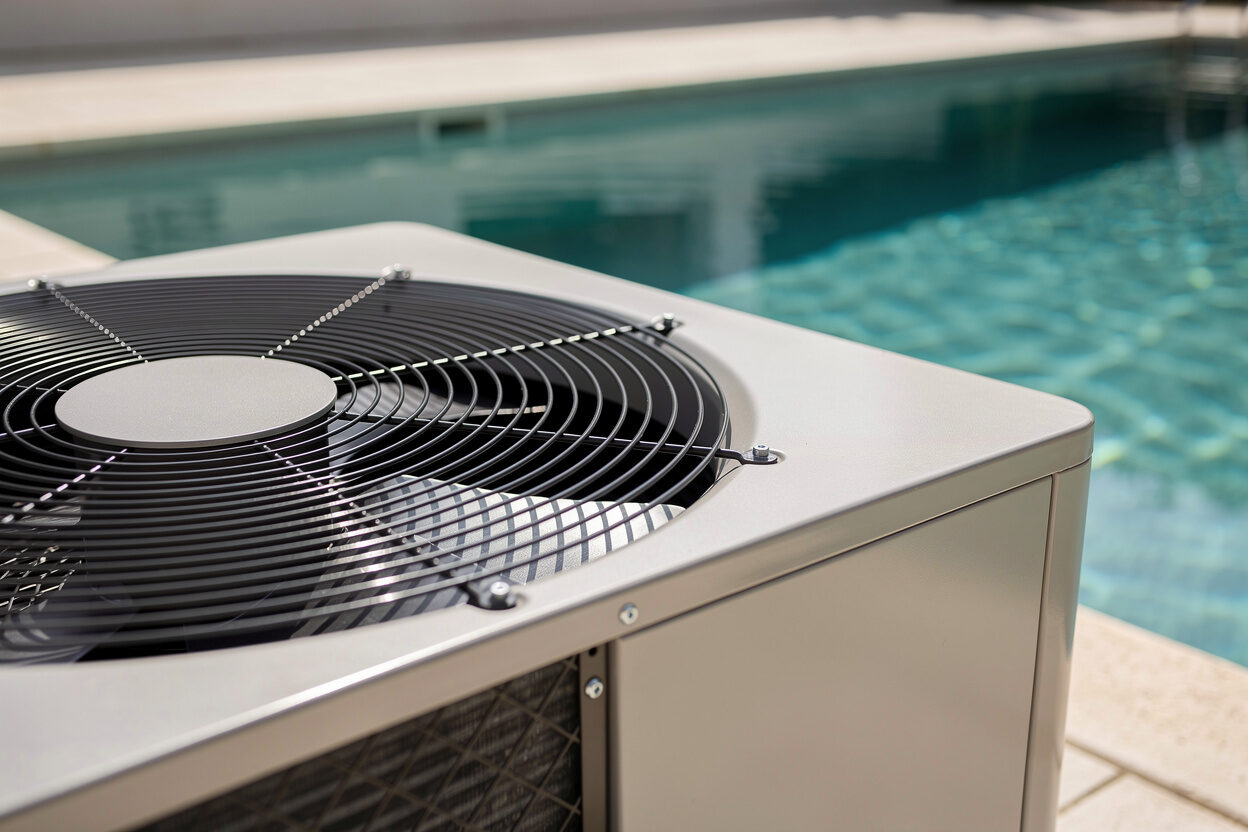
Pool heat pumps ship as sealed, pre-charged units, so there are no refrigerant lines to connect in the field — your work is water plumbing, electrical, and condensate drainage. (Any actual refrigerant servicing down the road would require EPA certification.) These units also need specific electrical requirements and proper drainage for condensate removal.
Testing and Commissioning
Once all connections are complete, the startup process involves several verification steps. Have a qualified technician verify proper gas pressure at the unit using appropriate testing equipment and test all electrical connections with power off initially. Check all plumbing connections for leaks with the system running at full flow rate.
I recommend running the system through several heating cycles while monitoring temperature rise and overall performance. This initial testing period often reveals minor adjustments needed for optimal operation.
Understanding your pool's water chemistry requirements becomes even more important with a heater, as warmer water can affect chemical balance and sanitation needs.
Still need help? Ask a Pool & Spa Expert AD
Get a personalized answer from PoolGuy810 — 30 years owning a pool and spa repair company. Describe your issue and get step-by-step help.
Related Pool Guides
Need More Help?
Try our free pool calculators and tools to help diagnose and fix your pool problems.
Browse Pool ToolsSLAM calculator, pH calculator, salt dosing & more