
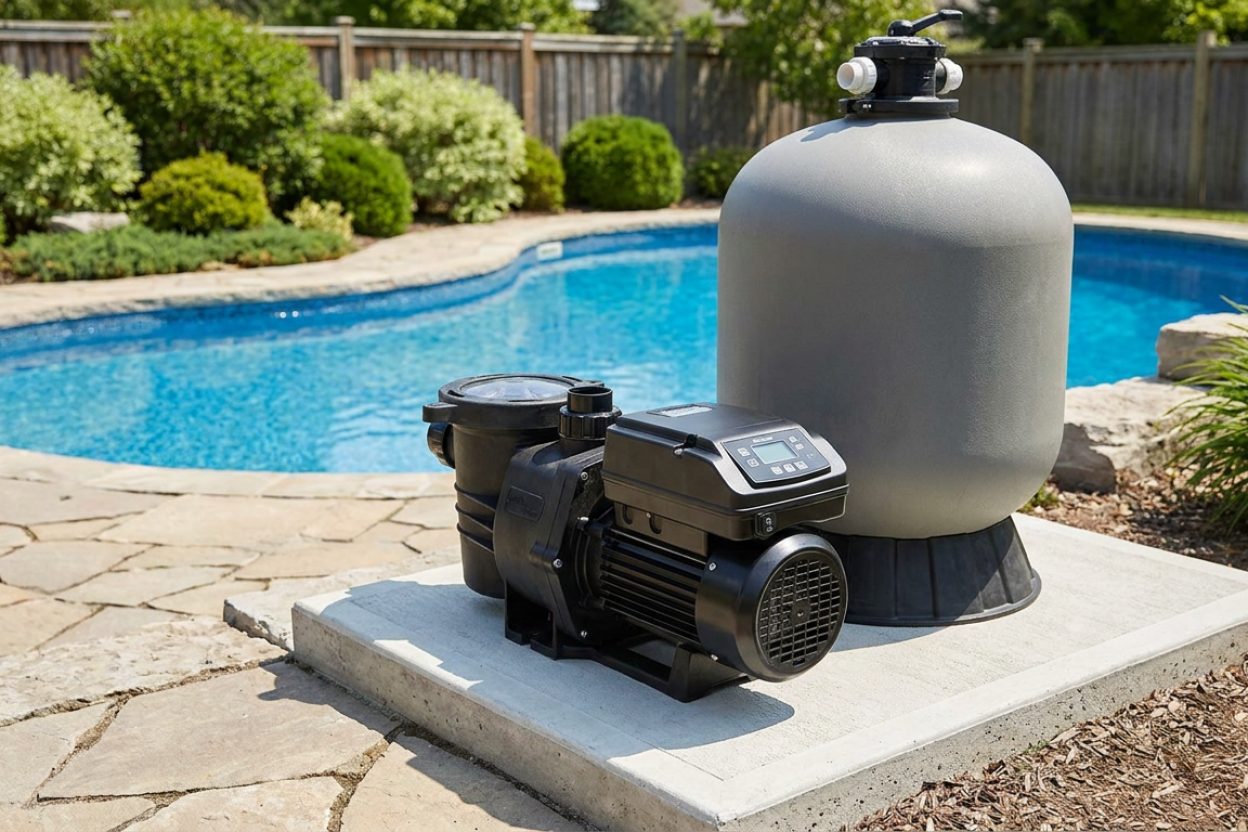
Can I Replace Pool Pump Myself? DIY Installation Guide

DIY Pool Pump Replacement: What's Required for Self-Installation?
Read full question
Found myself doing my annual spring pool prep when my old pump decided to kick the bucket, and now I'm wondering if I can tackle replacing this beast myself. I have basic electrical experience from working on household circuits and own standard tools, but I've never worked on pool equipment before.
What level of technical knowledge is required for pump replacement? Are there specific electrical or plumbing connections that typically cause problems for DIY installers? I'm trying to determine if this is within my skill range and get a realistic estimate of the time commitment involved.
Quick Answer
Yes, you can replace your pool pump yourself with basic electrical knowledge and the right tools. Most homeowners can complete this project in 2-3 hours using standard plumbing and electrical connections. Note that current electrical code (NEC) requires GFCI protection on a replacement pump, so budget for a GFCI breaker and, if you're not comfortable with 240V wiring, a licensed electrician.
The key is choosing a pump with similar specifications and taking proper safety precautions with the electrical connections. You'll save $200-500 in labor costs by doing it yourself.
Before You Start: Safety and Preparation
Turn off all power at the breaker box - never work on pool equipment with live electricity. Pool pumps typically run on 220V circuits that can be deadly. Use lockout/tagout procedures to secure the breaker, inform others you're working on electrical equipment, and use a voltage tester to confirm power is completely off before touching any wires.
Take photos of your current pump's plumbing and electrical connections before disconnecting anything. These reference photos will be invaluable during reinstallation.
Choosing the Right Replacement Pump
Match these specifications from your old pump:
- Horsepower rating (0.75HP, 1HP, 1.5HP, etc.)
- Voltage (115V or 230V)
- Plumbing size (most pools use 1-1/2" inside-diameter PVC, though some use 2" or 2-1/2" connections)
- Flow rate (GPM) appropriate for your pool size
Popular reliable brands include Pentair, Hayward, and Jandy. Variable speed pumps like the Pentair SuperFlo VS or Hayward Super Pump VS will save significantly on electricity costs.
Step-by-Step Pump Replacement Process
- Shut off power at the main breaker and pool equipment breaker. Test with voltage meter to confirm.
- Turn off water flow by closing any ball valves or gate valves leading to the pump.
- Drain the pump by removing the drain plug at the bottom of the pump housing.
- Remove pump basket and check for debris - take out the pump basket and clear any leaves or debris from the housing.
- Disconnect plumbing unions - these are the threaded connections that allow easy pump removal. Turn counterclockwise to loosen.
- Remove electrical connections - unscrew wire nuts and separate wires. Note which wires connect together.
- Unbolt the old pump from its mounting pad. Most pumps have 4 bolts securing them to a concrete pad.
- Position new pump in the same location, ensuring proper alignment with plumbing.
- Bolt down new pump using existing holes or drilling new ones if needed.
- Connect plumbing unions - hand tighten, then use union wrench for final snugging. Don't overtighten.
- Make electrical connections following your reference photos. Connect hot wires to pump's line terminals (typically marked L1/L2), neutral to neutral, and green to ground. Note that variable-speed pumps may have three or four wires.
- Install pump basket after checking and replacing the basket o-ring/gasket if needed, and ensure it's properly seated in the housing.
- Prime the pump by filling the pump basket housing with water before first startup.
- Check impeller rotation by running the pump briefly and confirming normal flow and pressure; rotation direction is set by the motor wiring, so follow the manufacturer wiring diagram rather than hand-spinning the impeller.
Electrical Connection Details
Pool pump wiring depends on the voltage the motor is set for — always follow the wiring diagram printed on the motor and confirm the voltage setting first:
- 240V (most common): two hot legs (black and red) connect to the motor's line terminals, usually labeled L1 and L2. A 240V-only circuit has no neutral.
- 120V: a single hot (black) and the neutral (white) connect to the two line terminals.
- Ground (green or bare copper) always connects to the green ground screw.
120V and 240V are wired differently and the motor must be set to match the supply voltage — if you're not certain, hire a licensed electrician.
Use waterproof wire nuts rated for outdoor use. Consider upgrading to a pool pump timer or variable speed controller during replacement for better efficiency.
Common Installation Challenges
Plumbing Alignment Issues
If your new pump doesn't line up exactly with existing plumbing, you may need flexible PVC couplings or union adapters. Avoid forcing connections - this can crack pump housings.
Electrical Code Requirements
The NEC (2020 and later) requires GFCI protection whenever a pool pump motor is replaced — even if the old one wasn't GFCI-protected, the replacement must be. Plan on installing a GFCI breaker (or confirming you already have one), and check your local code and permit requirements; consult a licensed electrician if you're unsure.
Testing Your Installation
Once everything is connected:
- Double-check all electrical connections are secure
- Ensure pump basket and lid are properly seated
- Open all valves to restore water flow
- Turn power back on at breaker
- Start pump and listen for unusual noises
- Check for leaks at all plumbing connections
- Verify proper water circulation to pool
When to Call a Professional
While most homeowners can handle pump replacement, call a professional if:
- Your electrical panel needs upgrading
- Plumbing requires major modifications
- Local codes require licensed electrician installation
- You're uncomfortable working with 220V electricity
Remember: A properly installed pump should run quietly, circulate water effectively, and show no leaks. Take your time with the installation - rushing leads to mistakes that can damage expensive equipment or create safety hazards.
Still need help? Ask a Pool & Spa Expert AD
Get a personalized answer from PoolGuy810 — 30 years owning a pool and spa repair company. Describe your issue and get step-by-step help.
Related Pool Guides
Need More Help?
Try our free pool calculators and tools to help diagnose and fix your pool problems.
Browse Pool ToolsSLAM calculator, pH calculator, salt dosing & more