
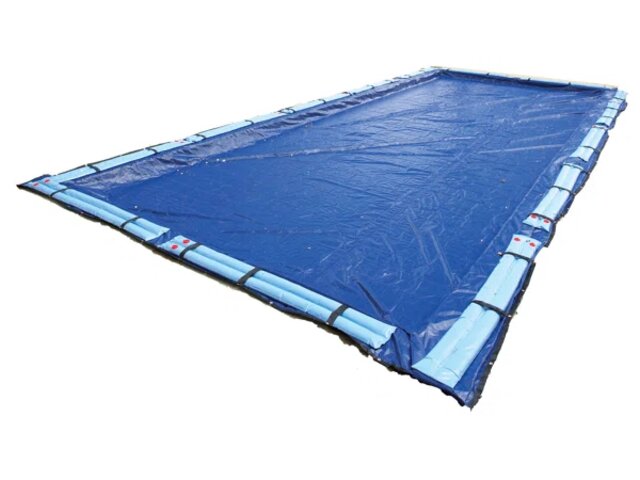
Do I Need to Clean My Pool Before Closing? Winter Prep Guide

What cleaning steps are required for proper pool winterization?
Read full question
Apparently my spring pool opening is eating through way more cash and weekends than it should because I keep screwing up these same winter prep steps. My pool has been maintained throughout the summer, but I'm uncertain about the specific cleaning requirements before adding winterizing chemicals and covering.
What are the essential cleaning steps I must complete before winterization? I'm particularly concerned about preventing algae formation and protecting my equipment from potential damage during the closed season. Should I focus on debris removal, water chemistry adjustment, or are there additional cleaning procedures that are critical for a successful spring reopening?
Quick Answer
Yes, you absolutely need to clean your pool before closing it for winter. Proper cleaning prevents algae growth, equipment damage, and costly spring reopening issues. A clean pool going into winter means crystal clear water when you reopen.
Step-by-Step Pool Cleaning Before Closing
- Remove All Debris
Start by skimming the surface and vacuuming the bottom thoroughly. Remove every leaf, twig, and piece of debris. Even small amounts of organic matter will decay over winter, consuming chlorine and feeding algae growth. Pay special attention to corners, steps, and around pool fixtures where debris tends to accumulate. - Brush All Pool Surfaces
Brush walls, steps, and floor systematically using a pool brush appropriate for your surface type. For plaster pools, use a stiff-bristled brush. For vinyl or fiberglass, use a softer brush to avoid damage. This removes biofilm and algae spores that aren't visible but will multiply rapidly in stagnant winter water. - Clean the Waterline
Scrub the waterline with a waterline cleaner or mild abrasive to remove oils, scum, and mineral deposits. This prevents permanent staining during the months when water level remains constant. Use a pumice stone for stubborn calcium deposits on plaster surfaces, but never on vinyl or fiberglass. - Vacuum to Waste
After brushing, vacuum the entire pool to waste (not through the filter). This removes the stirred-up debris and algae without clogging your filter system. If you don't have a waste setting, vacuum normally but be prepared to clean or replace your filter media immediately afterward. - Clean Pool Equipment
Remove and clean all removable equipment including ladders, diving boards, skimmer baskets, and pool toys. Store these items in a dry location. Clean skimmer baskets thoroughly and reinstall them to catch any debris that might blow in during winter. - Service Your Filter System
Clean or replace your filter media. For sand filters, perform a thorough backwash. For cartridge filters, remove and either clean thoroughly or replace with new cartridges. For DE filters, break down the grids and clean them completely. A clean filter ensures your closing chemicals can work effectively. - Balance Water Chemistry
Test and balance your water chemistry before adding winterizing chemicals. Target pH between 7.4-7.6, total alkalinity 80-120 ppm (60-80 for salt water pools), and calcium hardness 250-350 ppm for plaster pools (175-225 ppm for vinyl/fiberglass). Proper balance prevents equipment corrosion and surface damage during winter months. - Shock the Pool
Add liquid chlorine to achieve shock level based on your CYACyanuric Acid (stabilizer) — Sunscreen for your chlorine — it keeps sunlight from burning it off. The catch: the more you have, the more chlorine you need to keep. learn more → (stabilizer) level. Use the all-in-one pool calculator to determine the proper shock level - typically 12-15 ppm free chlorine for 30 ppm CYA or 16-20 ppm for 50 ppm CYA. This kills any remaining bacteria and algae spores. Don't use calcium hypochlorite shock if you have high calcium levels, as this adds more calcium to your water. - Add Winterizing Chemicals
After shocking, add your winterizing chemical kit according to manufacturer directions. The TFP-preferred approach is to add only chlorine (already done in the shock step) plus an optional dose of Polyquat 60 algaecide; multi-product "winter kits" are largely unnecessary, and many winter algaecides are copper-based, which can itself stain surfaces - so avoid those. One more thing the cleaning steps above don't cover: the step that actually protects your equipment over winter is freeze protection - blowing out or draining the plumbing lines, draining the pump and filter body, and plugging the returns. Do that separately before you put the cover on. Add these at least 24-48 hours before covering the pool to allow proper circulation and mixing. - Run Filtration System
After adding all chemicals, run your filtration system continuously for 24-48 hours to ensure complete mixing and circulation. This distributes the winterizing chemicals throughout the entire pool volume and ensures nothing settles in dead spots.
Why Cleaning Before Closing Is Critical
Preventing Algae Growth: Any organic matter left in your pool becomes food for algae during winter. Even with winterizing chemicals, a dirty pool often turns green by spring, requiring expensive SLAMShock Level And Maintain — raise free chlorine to a target based on your CYA and hold it there until the algae is gone. It's a process, not a one-time dose. the SLAM walkthrough → (Shock Level and Maintain) treatment to clear.
Equipment Protection: Debris can clog lines, damage pump impellers, and cause expensive equipment failures. Clean water protects your investment in pool equipment throughout the winter months.
Surface Protection: Leaves and debris can stain pool surfaces permanently if left to decompose over winter. Organic stains are often impossible to remove and may require acid washing or surface refinishing.
Easier Spring Opening: A properly cleaned and closed pool opens crystal clear in spring, saving you time, money, and frustration. You'll be swimming weeks sooner than neighbors who skipped proper closing procedures.
Common Cleaning Mistakes to Avoid
- Rushing the process - allow 2-3 days for proper cleaning and chemical balancing
- Skipping the brush step - this is critical for removing biofilm and algae spores
- Adding winterizing chemicals to unbalanced water - balance first, then winterize
- Covering the pool immediately after adding chemicals - allow circulation time first
- Using old or expired winterizing chemicals - these lose effectiveness over time
Safety Warning: Always add chemicals with the pump running and never mix different chemical products. Add chemicals in the evening to prevent sun degradation, and keep people and pets away from the pool area during chemical addition.
For the full breakdown of safe chlorine levels by CYA level, see our pool water chemistry guide.
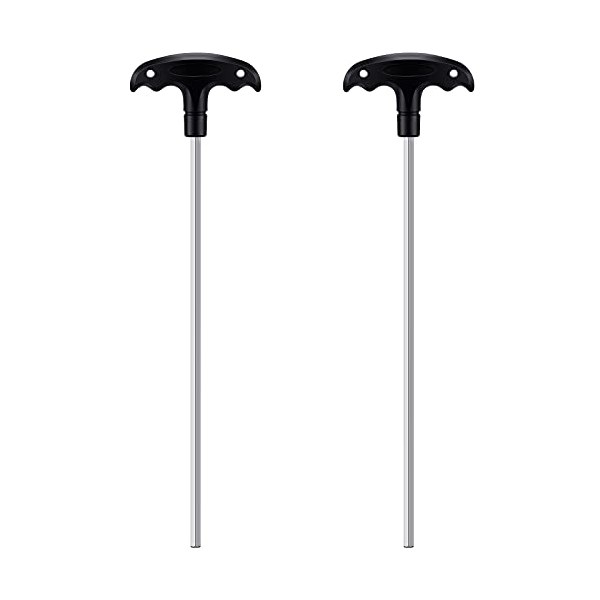 Pool Safety Cover Hex Key Tool (2-Pack)
Hex keys to install or remove a pool safety cover. View on Amazon →
Pool Safety Cover Hex Key Tool (2-Pack)
Hex keys to install or remove a pool safety cover. View on Amazon →
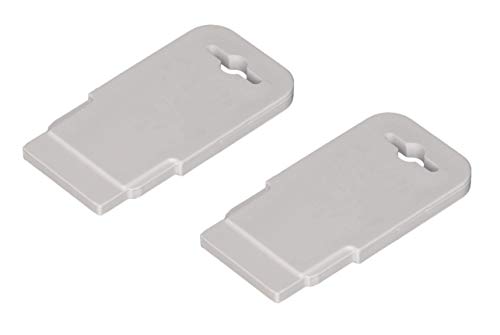 Pool Eyeball / Return Jet Fitting Removal Tool (ATIE)
Pops out & reseats Hayward SP1419 return-jet eyeballs — handy for closing. View on Amazon →
Pool Eyeball / Return Jet Fitting Removal Tool (ATIE)
Pops out & reseats Hayward SP1419 return-jet eyeballs — handy for closing. View on Amazon →
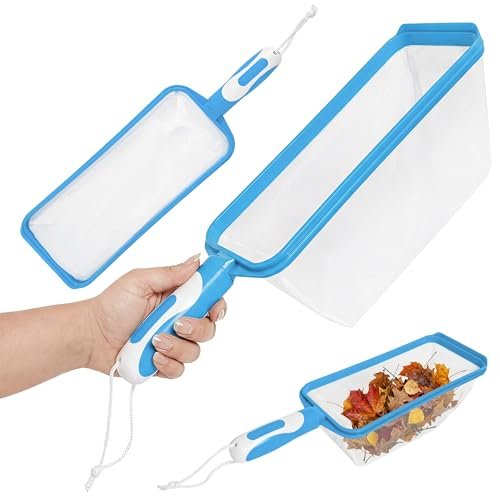 The Skimmie Handheld Pool Skimmer Net
Grab-and-go hand skimmer for leaves and debris off the surface. View on Amazon →
The Skimmie Handheld Pool Skimmer Net
Grab-and-go hand skimmer for leaves and debris off the surface. View on Amazon →
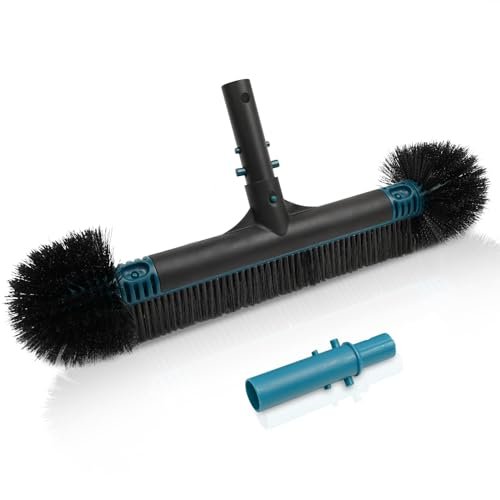 Poolvio 20" 2-in-1 Pool Brush Head (Walls & Floor)
Sturdy 20-inch brush head that clips onto any standard telescopic pole. View on Amazon →
Poolvio 20" 2-in-1 Pool Brush Head (Walls & Floor)
Sturdy 20-inch brush head that clips onto any standard telescopic pole. View on Amazon →
Still need help? Ask a Pool & Spa Expert AD
Get a personalized answer from PoolGuy810 — 30 years owning a pool and spa repair company. Describe your issue and get step-by-step help.
Related Pool Guides
Need More Help?
Try our free pool calculators and tools to help diagnose and fix your pool problems.
Browse Pool ToolsSLAM calculator, pH calculator, salt dosing & more