
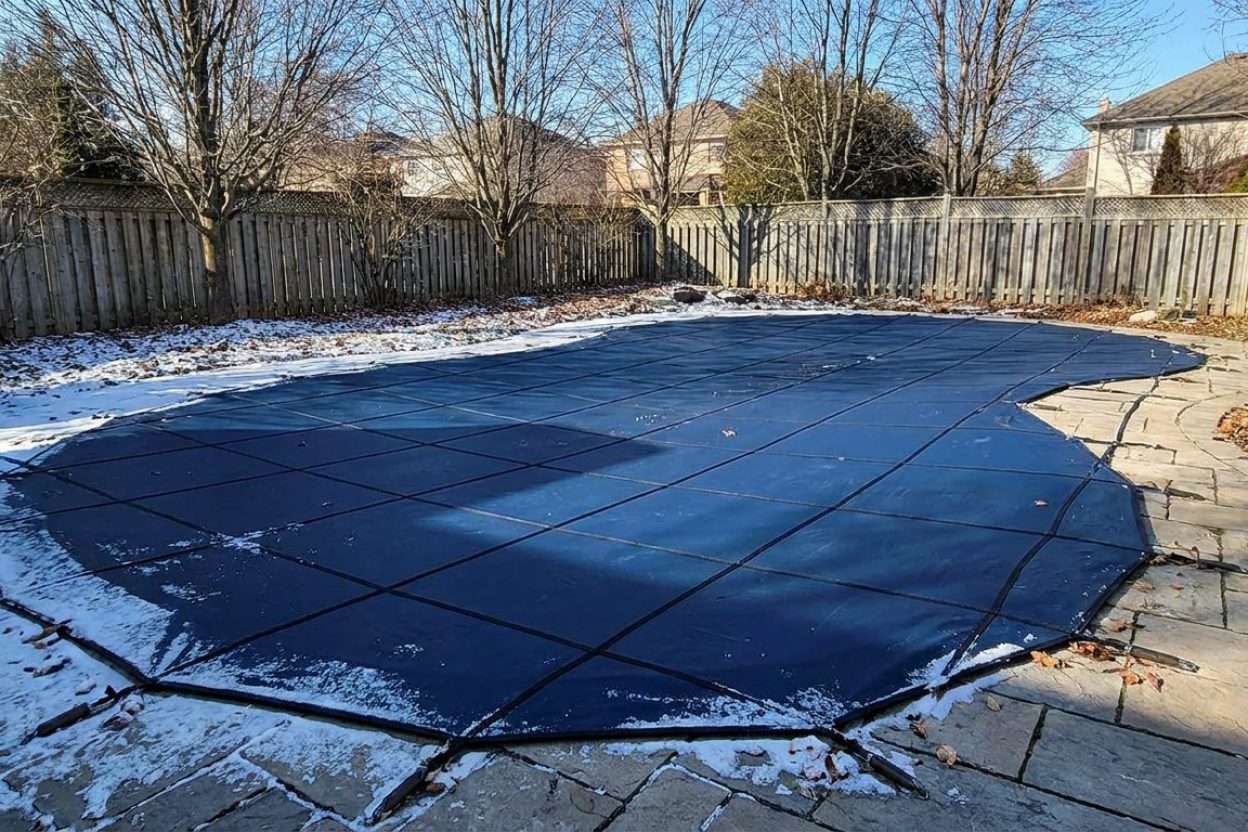
How to Winterize Pool: Complete Troubleshooting Guide 2026

Winter's coming - how do I properly winterize my pool this year?
Read full question
After ignoring winterization last fall, my pool pipes started making weird cracking sounds this spring and now I'm staring at burst pipes and algae soup. I'm determined not to repeat that nightmare! I know it involves chemicals and lowering water levels, but I'm clearly missing something important in my process.
What's the complete step-by-step process for winterizing? How long should I plan for this whole ordeal, and what are the critical steps I probably screwed up last time? I want to make sure I'm protecting against freeze damage while keeping the water in decent shape for spring startup.
Quick Answer
Winterizing your pool involves balancing water chemistry, lowering water levels, removing equipment, and adding winterizing chemicals. The process takes 4-6 hours and prevents freeze damage while maintaining water quality through winter months.
First, Let's Diagnose Your Winterization Needs
Winterizing trips up a lot of pool owners, and a single mistake can lead to thousands in freeze damage. Different scenarios require different approaches, and identifying potential problems now will save you major headaches come spring opening.
Check these key indicators:
- Current water temperature (should be below 60°F and falling for proper winterization)
- Water clarity and color (green or cloudy water needs treatment first)
- Equipment condition (pumps, filters, heaters need inspection)
- Plumbing vulnerabilities (above-ground pipes, returns, skimmers)
- Regional freeze risk (determines closing method intensity)
Troubleshooting Pre-Winterization Water Problems
If your pool water isn't crystal clear, don't attempt winterization yet. Closing a pool with algae or bacteria will create a nightmare scenario for spring opening.
Green or Cloudy Water Solution
Execute a SLAMShock Level And Maintain — raise free chlorine to a target based on your CYA and hold it there until the algae is gone. It's a process, not a one-time dose. the SLAM walkthrough → (Shock Level And Maintain) process using liquid chlorine:
- Test current Free Chlorine (FCFree Chlorine — The chlorine actively sanitizing your water right now. This is the number you keep an eye on. how much you need →) and Cyanuric Acid (CYACyanuric Acid (stabilizer) — Sunscreen for your chlorine — it keeps sunlight from burning it off. The catch: the more you have, the more chlorine you need to keep. learn more →) levels using a Taylor K-2006 test kit
- Calculate shock level using the all-in-one pool calculator (typically 10-20 ppm FC depending on CYA)
- Add liquid chlorine to reach shock level
- Run pump continuously, brushing walls twice daily
- Maintain shock level until combined chlorine (CCCombined Chlorine — "Used-up" chlorine left over from doing its job. Above about 0.5 ppm is the classic sign water needs a shock. learn more →) is 0.5 ppm or less and you pass the Overnight Chlorine Loss Test (OCLT)
- Retest every 1-2 hours, adding chlorine as needed
Tip: Use liquid chlorine for the SLAM - it adds no CYA or calcium. Cal-hypo works too but raises calcium hardness over a long SLAM; just avoid dichlor/trichlor, which add CYA. Algaecide isn't needed - the shock-level chlorine already kills the algae.
Step-by-Step Winterization Process
Phase 1: Water Chemistry Balance
Proper chemical balance prevents equipment corrosion, surface staining, and water quality issues during closure.
- Test and adjust pH to 7.4-7.6: Use muriatic acid to lower or sodium carbonate to raise. As a rule of thumb, about 1 quart muriatic acid per 10,000 gallons lowers pH by approximately 0.2 — use our easy-to-use pool calculator for a closer estimate.
- Balance Total Alkalinity to 80-120 ppm: Use sodium bicarbonate if low
- Adjust Calcium Hardness to 250-350 ppm: Add calcium chloride if needed
- Shock the pool: Add liquid chlorine to reach SLAM level for your CYA (not a fixed 10-12 ppm; high-CYA salt pools need much more), run the pump, and confirm it holds via an overnight chlorine loss test (OCLT) before closing
- Add winterizing chemicals: Add algaecide rated for winter (follow manufacturer's dosing)
Phase 2: Equipment Preparation and Removal
- Remove and clean all accessories: Ladders, handrails, skimmer baskets, return fittings, pool cleaner
- Drain equipment properly: Empty pump basket, remove drain plugs from pump, filter, heater, and chlorinator
- Blow out plumbing lines: Use shop vac or air compressor to remove all water from return lines, skimmer lines, and main drain
- Add expansion plugs: Install Gizzmo plugs in skimmers, expansion plugs in returns
- Drain heater and pump completely: Remove all drain plugs, store indoors if possible
Phase 3: Water Level and Winterization
- Lower water level appropriately: 4-6 inches below skimmer for mesh covers, 1-2 inches below returns for solid covers
- Add pool antifreeze to lines (optional): As an optional backup for a line you cannot fully clear, add propylene-glycol pool/RV antifreeze to the line after blowing out, following the product label instructions. This goes into the line before plugging it. Antifreeze in the skimmer body is not a substitute for proper plugging.
- Install winter cover: Secure tightly with water bags or springs, ensuring proper drainage
- Final chemical addition: Add winter closing kit chemicals according to pool volume
Troubleshooting Common Winterization Problems
Equipment Won't Drain Completely
If water remains in pump or filter after removing drain plugs, use compressed air or shop vacuum to force remaining water out. Even small amounts can cause cracking in freezing temperatures.
Skimmer Line Blockage
If you can't blow air through skimmer lines, remove basket and use plumber's snake to clear debris. Blocked lines that freeze will crack, requiring expensive spring repairs.
Cover Keeps Sagging or Collecting Water
Solid covers need proper water level (1-2 inches below returns) and adequate slope for drainage. Add cover pump for solid covers if water accumulation persists. Mesh covers should sit higher with water level 4-6 inches below skimmer.
Regional Considerations and Timing
In hard-freeze areas, protection requires thoroughly blowing out and plugging every line, draining and storing equipment indoors, and air-locking the main drain. Pool antifreeze can be an optional backup, but is not required.
Optimal timing: Begin winterization when daytime temperatures consistently stay below 65°F and nighttime temperatures approach 45°F. This typically occurs 4-6 weeks before first expected freeze.
Test water chemistry one final time before final closure, ensuring FC is raised to SLAM level for your CYA (about 40% of your CYA) before closing - for example ~28-32 ppm at CYA 70-80; closing low invites spring algae, pH is 7.4-7.6, and all other parameters are balanced. This investment in proper winterization prevents thousands in potential damage and ensures easier spring opening.
For the full breakdown of safe chlorine levels by CYA level, see our pool water chemistry guide.
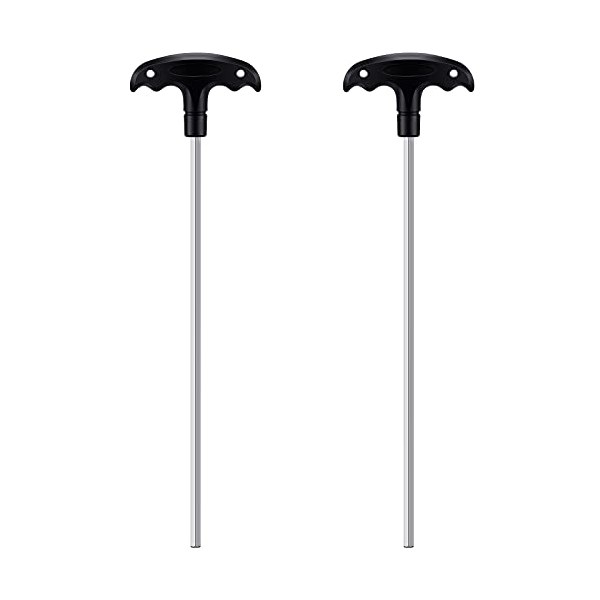 Pool Safety Cover Hex Key Tool (2-Pack)
Hex keys to install or remove a pool safety cover. View on Amazon →
Pool Safety Cover Hex Key Tool (2-Pack)
Hex keys to install or remove a pool safety cover. View on Amazon →
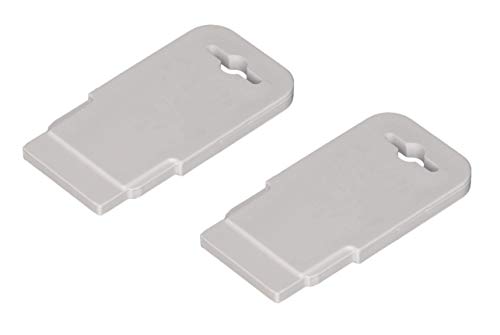 Pool Eyeball / Return Jet Fitting Removal Tool (ATIE)
Pops out & reseats Hayward SP1419 return-jet eyeballs — handy for closing. View on Amazon →
Pool Eyeball / Return Jet Fitting Removal Tool (ATIE)
Pops out & reseats Hayward SP1419 return-jet eyeballs — handy for closing. View on Amazon →
 Taylor K-2006C Complete FAS-DPD Pool & Spa Test Kit
The FAS-DPD kit pool pros trust — reads chlorine accurately even at shock/SLAM levels, plus pH, alkalinity, calcium hardness and CYA. View on Amazon →
Taylor K-2006C Complete FAS-DPD Pool & Spa Test Kit
The FAS-DPD kit pool pros trust — reads chlorine accurately even at shock/SLAM levels, plus pH, alkalinity, calcium hardness and CYA. View on Amazon →
 Liquid Chlorine / Sodium Hypochlorite (12.5%)
Everyday sanitizer — the B in BBB View on Amazon →
Liquid Chlorine / Sodium Hypochlorite (12.5%)
Everyday sanitizer — the B in BBB View on Amazon →
Still need help? Ask a Pool & Spa Expert AD
Get a personalized answer from PoolGuy810 — 30 years owning a pool and spa repair company. Describe your issue and get step-by-step help.
Related Pool Guides
Need More Help?
Try our free pool calculators and tools to help diagnose and fix your pool problems.
Browse Pool ToolsSLAM calculator, pH calculator, salt dosing & more