How to Change Pool Filter Sand: Complete Step-by-Step Guide

First time changing sand filter - need complete walkthrough?
Read full question
Standing here staring at my pool filter feeling completely clueless—probably a dumb question, but how do you actually change the sand inside this thing?
Can someone walk me through the whole thing? Like do I need to turn off the pump first? How do I get to the old sand? And what are these "laterals" they mentioned - I don't want to damage those. Any step-by-step guidance would be amazing since this is my first time doing any pool maintenance beyond adding chemicals.
Quick Answer
Changing pool filter sand involves shutting off equipment, removing the multiport valve, carefully extracting old sand, and adding new #20 silica sand in layers while avoiding damage to laterals.
First, Let's Diagnose When Sand Replacement is Needed
First question: when did your pool water start looking cloudy despite perfect chemical levels? Pool filter sand typically lasts 5-7 years, but several signs indicate earlier replacement: consistently cloudy water despite proper chemistry, shortened time between backwashing (less than 2 weeks), visible channeling in the sand bed, or sand returning to the pool through return jets.
If your sand is less than 3 years old and you're experiencing filtration issues, the problem might be improper water chemistry, damaged laterals, or a cracked multiport valve rather than the sand itself.
Tools and Materials You'll Need
- New #20 silica sand (typically 200-300 lbs depending on filter size)
- Shop vacuum or sand removal tool
- Garden hose
- Multiport valve wrench or large pipe wrench
- Duct tape
- Pool brush or wooden stick
- Safety glasses and dust mask
- Helper (sand bags are heavy)
Step-by-Step Sand Replacement Process
1. System Shutdown and Preparation
Turn off your pool pump at the breaker for electrical safety and ensure the system is completely shut down. Never work on pool equipment while the pump is running - this can cause serious injury. Close any valves that might allow water to flow back into the filter tank.
2. Remove the Multiport Valve
Disconnect the pressure gauge and any plumbing connections to the multiport valve. Most valves are held in place by a clamp ring - loosen this carefully as the valve can be heavy. Some older systems have unions that need to be unscrewed. Mark the valve position with tape before removal to ensure proper reinstallation.
Important: Be extremely careful not to damage the standpipe (center tube) during valve removal. A cracked standpipe will require professional repair.
3. Protect the Laterals
Before removing sand, tape over the top of the standpipe to prevent sand from falling into it. The laterals at the bottom of your filter are fragile plastic components that can crack if sand falls on them with force. Consider adding a small amount of water to the tank to cushion any remaining sand.
4. Sand Removal
Use a shop vacuum or specialized sand removal tool to extract the old sand. Work systematically from top to bottom, being careful not to disturb the laterals at the bottom. Wear a dust mask during this process as silica dust can be harmful if inhaled.
As you reach the bottom layers, work more carefully. You may encounter calcified or cemented sand that requires gentle scraping with a pool brush. Never use sharp tools that might damage the tank or laterals.
5. Inspect Laterals and Standpipe
With sand removed, inspect the lateral assembly for cracks or damage. Each lateral should be firmly attached to the manifold. Replace any damaged laterals now - it's much easier than doing this job again in six months.
Check that the standpipe is straight and properly seated. A bent standpipe will cause uneven water distribution and poor filtration.
6. Adding New Sand
Add water to the tank until laterals are just covered - this cushions them during sand addition. Pour new sand slowly and evenly, using a pool brush to distribute it and prevent channeling down the standpipe.
Add sand in 50-pound increments, leveling each layer before adding more. Most residential filters require 200-300 pounds of #20 silica sand. Only use #20 silica sand - never use play sand, masonry sand, or other substitutes as these can damage your system.
Fill to your filter's recommended level — typically about 2/3 of tank height, leaving freeboard for backwashing — and check your manual, since fill levels vary by model. Keep the sand level even around the standpipe.
7. Reassemble the System
Remove tape from the standpipe and carefully reinstall the multiport valve, aligning it with your reference marks. Tighten the clamp ring evenly to prevent leaks, but don't overtighten as this can crack the valve body.
Reconnect all plumbing and the pressure gauge. Double-check all connections before proceeding.
Initial Startup and Conditioning
Fill the tank completely with water through the skimmer or directly into the tank - this prevents air pockets. Set the multiport valve to "Backwash" and start the pump; run for 2-3 minutes to flush fine dust from the new sand out to waste. Then switch to "Rinse" for 1-2 minutes until the water runs clear.
Finally, set to "Filter" mode and run normally. Expect slightly cloudy water for 24-48 hours as the new sand settles and fine particles clear.
Troubleshooting Common Issues
If you experience sand in your pool after replacement, check that laterals weren't damaged during installation and that you used the correct sand grade. Excessive pressure readings might indicate sand was added too quickly, creating air pockets - try backwashing to resolve this.
Poor filtration immediately after sand change is normal for 1-2 weeks as the sand bed conditions itself. However, if problems persist, verify your pool chemistry is balanced according to TFP standards: FCFree Chlorine — The chlorine actively sanitizing your water right now. This is the number you keep an eye on. how much you need → appropriate for your CYACyanuric Acid (stabilizer) — Sunscreen for your chlorine — it keeps sunlight from burning it off. The catch: the more you have, the more chlorine you need to keep. learn more → level, pH between 7.2-7.8, and proper TATotal Alkalinity — The buffer that keeps your pH from bouncing around. Get this in range and pH gets a lot easier to manage. learn more → levels.
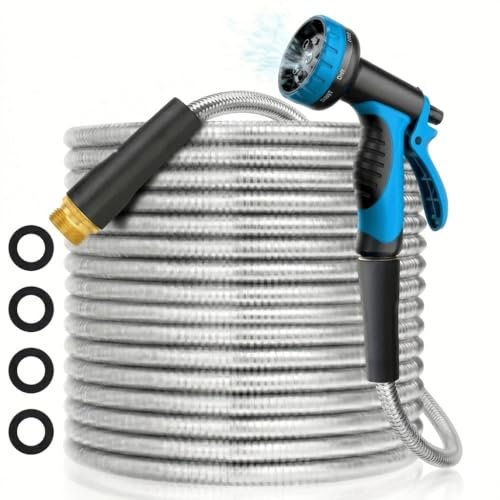 50 ft Flexible Metal Garden Hose (Kink-Free)
Durable hose for filling, priming, and rinsing equipment. View on Amazon →
50 ft Flexible Metal Garden Hose (Kink-Free)
Durable hose for filling, priming, and rinsing equipment. View on Amazon →
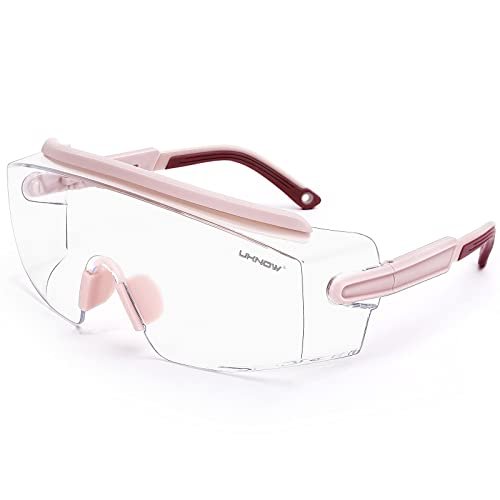 UKNOW Anti-Fog Chemical Splash Safety Goggles
Sealed splash goggles for handling muriatic acid and chlorine. View on Amazon →
UKNOW Anti-Fog Chemical Splash Safety Goggles
Sealed splash goggles for handling muriatic acid and chlorine. View on Amazon →
Still need help? Ask a Pool & Spa Expert AD
Get a personalized answer from PoolGuy810 — 30 years owning a pool and spa repair company. Describe your issue and get step-by-step help.
Related Pool Guides
Need More Help?
Try our free pool calculators and tools to help diagnose and fix your pool problems.
Browse Pool ToolsSLAM calculator, pH calculator, salt dosing & more