
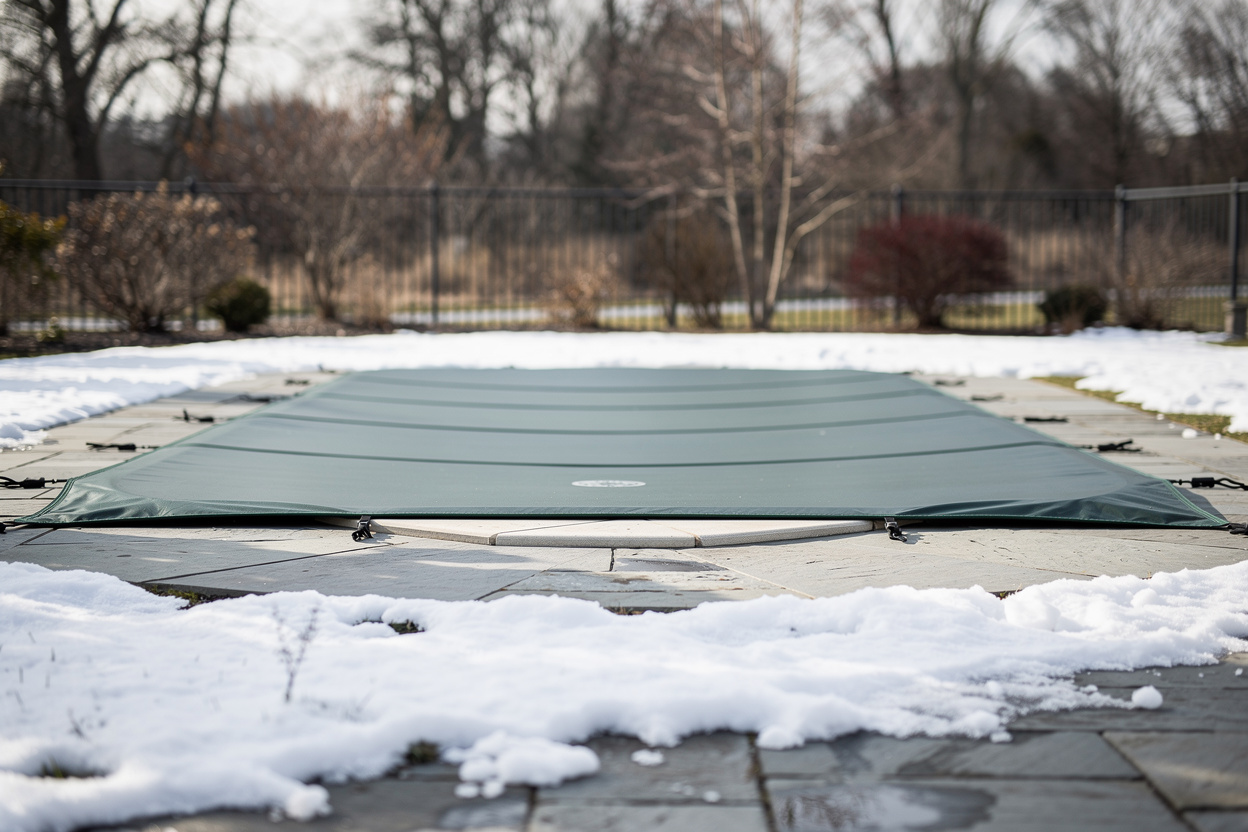
Can Pool Covers Be Repaired? Complete Repair Guide 2026

What Types of Pool Cover Damage Can Actually Be Fixed?
Read full question
Finally got a chance to inspect my pool cover after last week's brutal storm, and it's completely shredded with way more damage than I originally spotted. The cover has sustained various types of damage over multiple seasons, including what appears to be small punctures, deteriorated fastening points, and compromised attachment mechanisms.
Specifically, I'm dealing with minor tears in the cover material, several broken grommets around the perimeter, and worn securing straps that no longer maintain proper tension. Before investing in a new cover system, I want to understand which of these damage types can be effectively repaired and what repair methodologies are available for different cover materials and hardware components.
Quick Answer
Yes, most pool covers can be repaired depending on the type of damage and cover material. Small tears, broken grommets, and worn straps are commonly repairable using patch kits, vinyl cement, or replacement hardware. For more extensive damage, professional repair services may be necessary. Regular maintenance and proper storage can extend the life of your pool cover.
Types of Pool Cover Damage and Repairability
Easily Repairable Damage
- Small tears and punctures (under 6 inches) - Highly repairable with patch kits
- Loose or missing grommets - Simple hardware replacement
- Broken tie-down straps - Easily replaced with new webbing
- Minor seam separation - Can be re-sealed with vinyl cement
- Worn anchor points - Replaceable with new hardware
Challenging But Possible Repairs
- Large tears (6+ inches) - Require professional-grade patches or panels
- Multiple small holes - Time-intensive but doable with patience
- Faded or brittle material - May need reinforcement backing
- Broken spring mechanisms - Require specialized replacement parts
When Replacement Is Better
- Extensive UV damage with material breakdown
- Multiple large tears covering significant area
- Covers over 10-15 years old with multiple issues
- Safety cover with compromised structural integrity
DIY Repair Methods by Cover Type
Vinyl and Solid Covers
Vinyl pool covers are the most repair-friendly option. Start by cleaning the damaged area thoroughly with mild soap and water, then dry completely. For tears under 3 inches, use a vinyl patch kit specifically designed for pool covers. Cut the patch 2 inches larger than the tear on all sides, apply vinyl cement to both surfaces, and press firmly for 60-90 seconds. Allow 24-48 hours for full cure before using the cover.
For larger repairs, consider using a two-sided patch approach - one patch on top and one underneath for maximum strength. Always use patches made from the same material as your cover when possible.
Mesh Safety Covers
Mesh covers require different repair techniques due to their woven construction. Small holes can be repaired using mesh patch kits that include adhesive backing. Clean the area first, then apply the patch with firm pressure. For tears in mesh, you may need to use a zigzag stitch pattern with UV-resistant thread and appropriate sewing equipment if the damage affects the structural weave.
Automatic Pool Covers
These covers typically require professional repair due to their complex mechanisms, but minor vinyl repairs can be done using the same techniques as solid covers. Never attempt to repair the mechanical components yourself - this can void warranties and create safety hazards.
Professional Repair Services
When to Call Professionals
Contact professional pool cover repair services for safety covers with structural damage, automatic covers with mechanical issues, or any repair that affects the cover's safety integrity. Professional services have access to original manufacturer materials and can ensure repairs meet safety standards.
Cost Considerations
Professional repairs typically range from $150-500 depending on damage extent. Compare this to replacement costs: basic covers ($200-800), safety covers ($1,200-3,000), and automatic covers ($8,000-15,000). If repair costs exceed 50% of replacement value, consider a new cover.
Essential Repair Tools and Materials
Basic Repair Kit Contents
- Vinyl patch material - Get color-matched patches when possible
- Vinyl cement or adhesive - Marine-grade for durability
- Cleaning supplies - Mild detergent and clean rags
- Scissors or utility knife - For cutting patches to size
- Roller or squeegee - For removing air bubbles
Hardware Replacement Items
- Grommets and grommet tool - Various sizes for different covers
- Webbing straps - UV-resistant polypropylene material
- Buckles and clips - Stainless steel or heavy-duty plastic
- Bungee cords - Marine-grade with protective coating
Preventive Maintenance to Avoid Repairs
Regular Inspection Schedule
Inspect your pool cover monthly during use season and before storage. Look for early signs of wear like small holes, loose grommets, or fraying straps. Address minor issues immediately before they become major problems requiring extensive repairs.
Proper Storage Techniques
Clean and completely dry covers before storage. Fold vinyl covers loosely to avoid creasing, and store in a cool, dry location away from direct sunlight. Never store covers while damp, as this promotes mold and material degradation.
Chemical Exposure Prevention
Tip: Normal balanced water - and even temporary SLAMShock Level And Maintain — raise free chlorine to a target based on your CYA and hold it there until the algae is gone. It's a process, not a one-time dose. the SLAM walkthrough →-level chlorine during an algae treatment - won't harm a quality cover. (Note that 10 ppm is the CDC's safe-to-swim ceiling, not "shock level": a real SLAM is set to about 40% of your CYACyanuric Acid (stabilizer) — Sunscreen for your chlorine — it keeps sunlight from burning it off. The catch: the more you have, the more chlorine you need to keep. learn more → and runs higher than 10 ppm, which is still fine for the cover and equipment.) What actually shortens cover life is sustained very low pH or pouring undiluted chlorine directly onto the cover, so test before covering and keep pH around 7.4-7.6 with free chlorine at the right level for your CYA.
Common Repair Mistakes to Avoid
- Using household tape or glue - These aren't designed for pool chemical exposure
- Skipping surface preparation - Dirty or wet surfaces prevent proper adhesion
- Making patches too small - Always extend patches well beyond damage area
- Ignoring manufacturer guidelines - Different cover types require specific repair methods
- Attempting structural safety cover repairs - These require professional assessment
Remember that a well-maintained pool cover should last 7-12 years with proper care. Regular maintenance and prompt repairs can extend this lifespan significantly, making repair efforts worthwhile for covers under 8 years old with minor damage.
For the full breakdown of safe chlorine levels by CYA level, see our pool water chemistry guide.
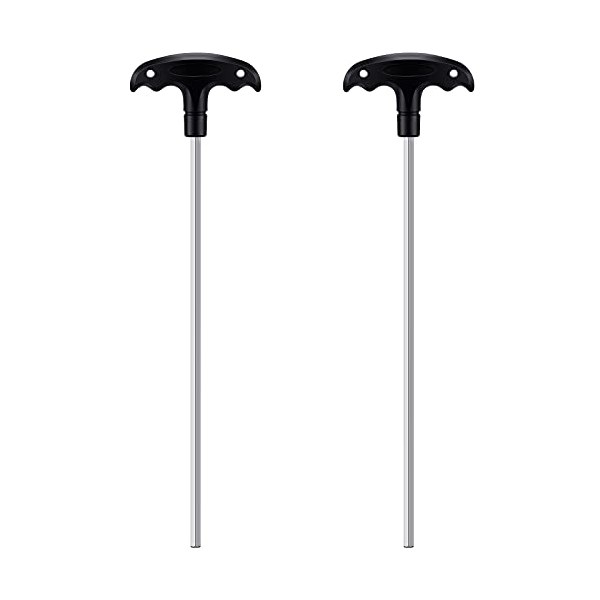 Pool Safety Cover Hex Key Tool (2-Pack)
Hex keys to install or remove a pool safety cover. View on Amazon →
Pool Safety Cover Hex Key Tool (2-Pack)
Hex keys to install or remove a pool safety cover. View on Amazon →
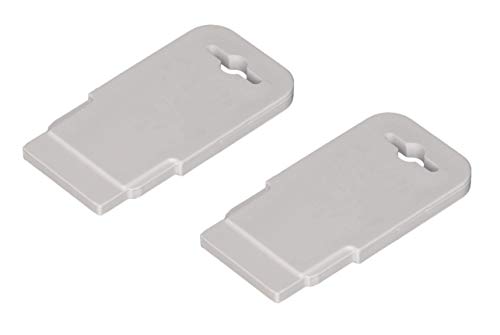 Pool Eyeball / Return Jet Fitting Removal Tool (ATIE)
Pops out & reseats Hayward SP1419 return-jet eyeballs — handy for closing. View on Amazon →
Pool Eyeball / Return Jet Fitting Removal Tool (ATIE)
Pops out & reseats Hayward SP1419 return-jet eyeballs — handy for closing. View on Amazon →
Still need help? Ask a Pool & Spa Expert AD
Get a personalized answer from PoolGuy810 — 30 years owning a pool and spa repair company. Describe your issue and get step-by-step help.
Related Pool Guides
Need More Help?
Try our free pool calculators and tools to help diagnose and fix your pool problems.
Browse Pool ToolsSLAM calculator, pH calculator, salt dosing & more