
Can I Install a Pool Heater Myself? DIY Installation Guide

Is it safe for me to install a pool heater myself with kids around?
Read full question
Staring at my dead pool heater at 11 PM — need to figure out if I can install a replacement myself before the kids want to swim tomorrow. I keep reading mixed information about whether this is something I can tackle myself or if I need to hire a professional.
I'm particularly concerned about gas connections and electrical work - I don't want to mess something up that could put my family at risk. Are there certain types of pool heaters that are safer for DIY installation? I want to make sure whatever heating system we choose is properly installed so there are no safety hazards for the kids.
Quick Answer
You can install some pool heaters yourself, but it depends on the type and your local codes. Electric and solar heaters are more DIY-friendly, while gas heaters typically require professional installation due to gas line connections.
First, Let's Diagnose Your Installation Situation
Before determining if you can install a pool heater yourself, we need to assess several critical factors that will determine whether this is a DIY project or requires professional installation. The complexity varies dramatically based on heater type, local building codes, and your existing pool setup. Child Safety During Installation: When children are present, additional precautions are essential. Create a secure work zone away from children, store all tools and materials safely, ensure children cannot access electrical panels or gas shutoffs during work, and consider scheduling installation work when children are not present for phases involving electrical or gas connections.
Identifying Your Heater Type and Installation Requirements
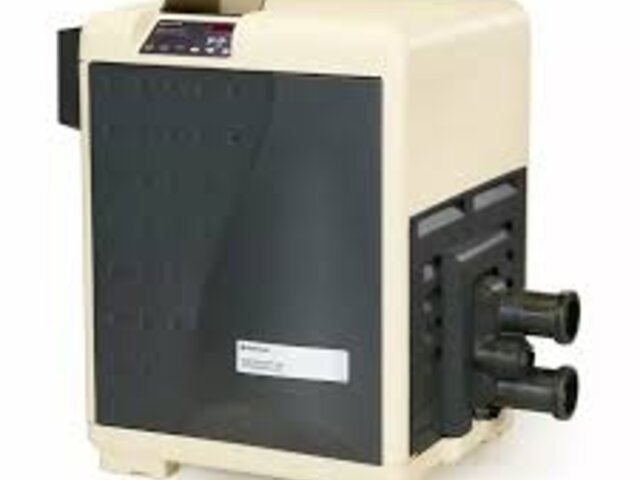
Gas Pool Heaters (Natural Gas/Propane)
Professional installation typically required. Gas heater installation involves connecting to gas lines, which requires licensed professionals in most jurisdictions. Even if you're handy, gas connections pose serious safety risks including gas leaks, carbon monoxide poisoning, and fire hazards. Most building codes require permits and inspections for gas appliance installations.
Gas heaters also require proper venting, electrical connections for controls, and precise gas pressure adjustments. The typical installation cost of $500-1,500 for professional installation is worth the safety assurance.
Electric Heat Pumps
Moderate DIY difficulty. Electric heat pumps are more DIY-friendly but still challenging. You'll need to run 220V electrical service, which may require an electrician depending on your comfort level and local codes. The plumbing connections are straightforward, but electrical work must meet local code requirements.
Key considerations include proper electrical disconnect installation, GFCI protection, adequate electrical panel capacity (verify available amperage), and proper electrical bonding/grounding per NEC requirements. Residential heat pumps typically draw 15-50+ amps depending on size and capacity, so verify your electrical system can handle the load.
Solar Pool Heaters
Most DIY-friendly option. Solar heating systems involve plumbing connections and roof mounting but no gas or high-voltage electrical work. The main challenges are roof work safety and proper panel mounting to withstand wind loads.
Essential Pre-Installation Assessment
Before proceeding with any DIY installation, complete this diagnostic checklist:
- Local building codes: Contact your building department about permit requirements. Many areas require permits for any pool heater installation
- Utility requirements: Gas companies often require professional installation for liability reasons
- Insurance implications: Check if DIY installation affects your homeowner's insurance coverage
- Existing infrastructure: Assess your current plumbing, electrical, and gas connections
- Space requirements: Verify adequate clearances for the heater unit
DIY Installation Solutions by Problem Type
Solution 1: Electric Heat Pump DIY Installation
If you're proceeding with an electric heat pump installation, follow these critical steps:
- Obtain permits: Apply for electrical and mechanical permits as required by your jurisdiction
- Plan the location: Heat pumps pull air in through the sides and discharge it (usually straight up), so they need open space - commonly about 24 inches around the unit plus several feet of unobstructed clearance above a top-discharge fan (Hayward's HeatPro, for example, specs roughly 24 in. on the sides and about 6 ft above). Boxing it in or letting discharged air recirculate cuts heating efficiency, so verify your model's plate rather than assuming a single number
- Install electrical service: Run 220V service with appropriate amperage for your unit. Install disconnect switch within sight of unit. WARNING: 220V electricity can cause serious injury or death - always turn off power at the main breaker and use proper lockout/tagout procedures before beginning any electrical work, and consider hiring a licensed electrician if you're not experienced with high-voltage electrical work
- Plumbing connections: Install bypass valves, unions, and proper flow direction. Use PVC primer and cement for permanent connections
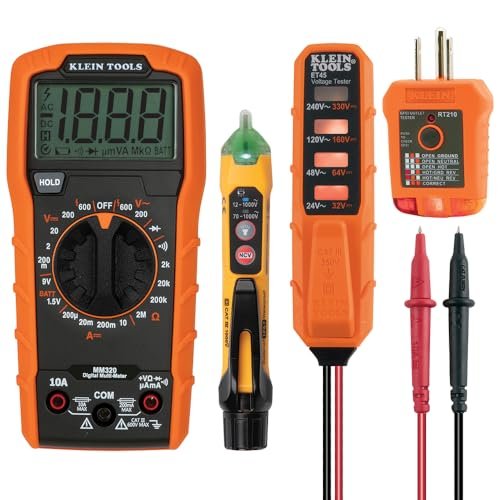
- Electrical connections: Turn off power at the breaker and verify it's off with a voltage tester before connecting power and control wiring according to manufacturer's wiring diagram
- System testing: Pressure test all plumbing connections for leaks before energizing the system, then test proper electrical operation before final inspection
Solution 2: Solar Heater DIY Installation
Solar installations require careful planning but are achievable for handy homeowners:
- Roof assessment: Ensure roof can support panel weight and wind loads. Check roof condition and age
- Panel layout: Plan panel arrangement for optimal sun exposure and aesthetic appearance
- Mounting system: Install mounting hardware according to manufacturer specifications. Use proper roof sealants
- Plumbing runs: Plan pipe routes to minimize heat loss and aesthetic impact
- Control valve installation: Install automatic or manual control valves for system operation
- System commissioning: Test for leaks, proper flow rates, and control operation
Solution 3: When to Call Professionals
Recognize these situations that require professional installation:
- Gas line connections of any type
- Electrical work beyond your skill level
- Permit applications require licensed contractor
- Roof work on steep or high roofs
- Complex plumbing modifications to existing systems
- Integration with existing automation systems
Common Installation Mistakes to Avoid
Inadequate planning: Rushing into installation without proper permits, measurements, or code research leads to costly corrections.
Improper electrical sizing: Undersized electrical service can cause nuisance tripping, reduced performance, or safety hazards.
Poor plumbing practices: Inadequate support, wrong pipe sizing, or improper valve installation can cause system failures.
Ignoring manufacturer specifications: Each heater has specific installation requirements for warranties and safe operation.
Final Assessment and Recommendations
Most pool owners can successfully install electric or solar pool heaters with proper planning, permits, and attention to safety. However, gas heaters should almost always be professionally installed due to safety concerns and code requirements.
Budget 20-40 hours for a typical DIY installation, including planning, permit applications, and actual installation work. Factor in tool costs, permit fees, and potential correction costs when comparing DIY versus professional installation.
Remember that improper installation can void warranties, create safety hazards, and result in expensive repairs. When in doubt, consult with professionals even if you plan to do the work yourself.
Still need help? Ask a Pool & Spa Expert AD
Get a personalized answer from PoolGuy810 — 30 years owning a pool and spa repair company. Describe your issue and get step-by-step help.
Related Pool Guides
Need More Help?
Try our free pool calculators and tools to help diagnose and fix your pool problems.
Browse Pool ToolsSLAM calculator, pH calculator, salt dosing & more