Can I Vacuum Pool After Adding Salt? Complete Timing Guide

When can I vacuum after adding salt to my pool?
Read full question
My pool's been sitting there taunting me ever since I added all that salt yesterday, and I'm completely unsure if vacuuming is even safe yet. I've got some debris that needs to come out, but I don't want to mess anything up with my equipment or screw up how the salt distributes.
Should I wait a certain amount of time before running the vacuum? And if so, how long are we talking here? Don't want to damage my pump or anything by being too eager to clean!
Quick Answer
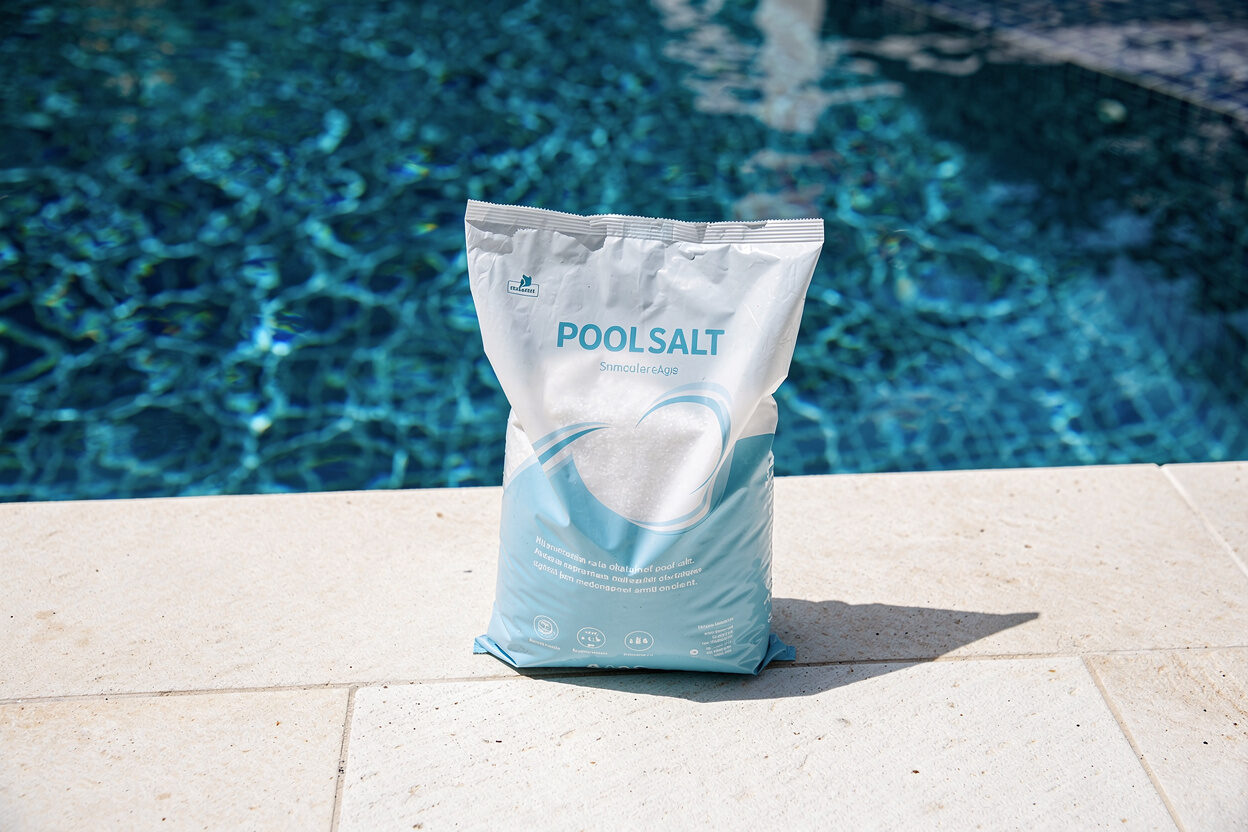
Yes — you can vacuum debris right now; there's no waiting period and it won't hurt your pump. Vacuum through the filter for normal debris so you don't drain off the salty water you just made — save vacuuming to waste for a heavy or very fine load (post-algae sediment, silt) where it'd otherwise clog the filter. You don't need to vacuum the salt itself — brush any granules so they dissolve. The only thing worth waiting ~24 hours for is an accurate salinity test before adding more.
Yes — You Can Vacuum the Debris Now
This is the part you actually asked about, and it's the easy part: there's no waiting period to vacuum leaves and dirt after adding salt, and vacuuming won't damage your pump. Dissolved pool salt is a mild solution — a few thousand ppm, far less salty than seawater — so it isn't abrasive and won't harm your pump, vacuum head, or plumbing. A few pointers:
- Match the filter path to the debris load. For normal leaves and dirt, vacuum through the filter — there's no reason to send your fresh salty water out the waste line. The exception is a heavy or very fine load (sediment after killing algae, silt, or a pool reopened after winter): that's worth vacuuming to waste so you don't clog the filter and end up backwashing repeatedly. You'll lose some water and a little salt along with it, so refill and re-test salinity afterward. Either way, any stray undissolved salt that reaches the filter just dissolves — sand, cartridge, and DE all handle it fine. (Cartridge filters have no waste setting, so with heavy debris you'd rinse or hose the cartridge instead.)
- Turn the salt cell off while you vacuum and while salinity is still stabilizing — a sensible habit that also avoids confusing low readings.
- Prime the hose (submerge it until water fills it), connect it to the skimmer or vacuum port, and work slowly across the bottom in overlapping passes.
- Salt water is mildly more corrosive over time, so rinse metal vacuum parts with fresh water after use and avoid bare aluminum components.
You Don't Need to Vacuum the Salt Itself
If you're eyeing undissolved salt granules on the bottom, don't reach for the vacuum for those — it's the wrong tool:
- Salt dissolves — just brush it. A soft-bristle pool brush pushes the granules around so they dissolve into the water, usually within 15-30 minutes. Letting them sit in a pile is the only thing that really slows it down.
- You want the salt in the water. That's the whole point of adding it. Vacuuming it out — and especially vacuuming to waste — just removes the salty water you paid to create.
The One Thing Worth Waiting For: An Accurate Salinity Test
The only real wait isn't about vacuuming safety — it's about getting an honest salinity number. Salt takes 24-48 hours to distribute evenly through the whole pool, and your salt chlorine generator won't read accurately until it does. Test too early and you'll get a low number, add more salt, and overshoot. So:
- Run the pump continuously while the salt dissolves and mixes.
- Brush any visible piles on the bottom until they're gone.
- Wait about 24 hours, then test salinity — a Taylor K-1766 reagent kit is the most accurate, or a salt strip / digital meter for a quick check. Target the level your SWGSalt Water Generator — The "salt cell" that makes chlorine from the salt in a saltwater pool. Same chlorine — it just makes its own. pool terms → specifies, commonly 2,700-3,400 ppm.
- Top up with a little more only if you're short — adding gradually avoids overshooting.
A good habit: add about two-thirds of the calculated salt first, let it mix for a day, test, then top up. That's far easier than trying to remove salt you overshot, which means draining and refilling water.
Common Questions
The water went cloudy after I brushed or vacuumed. That's usually fine sediment stirred up, not a problem — let the filter run and it clears in a few hours (a clarifier speeds it up if needed). It isn't "salt damage."
My salt cell is showing a low-salt or check-cell error. Right after adding salt the reading is still settling — give it 24-48 hours of circulation before trusting it. If it persists after that, test salinity with a kit to confirm the actual level.
Bottom Line
Vacuum your debris whenever you like — no waiting needed, and it won't hurt your pump — just go through the filter, not to waste. You don't vacuum the salt itself; brush it and let it dissolve. The one thing to wait about a day for is testing salinity, so you don't overshoot, and keep the cell off until things stabilize. After any big salt addition, recheck pH and alkalinity too, since they may need a small adjustment.
For the full breakdown of safe chlorine levels by CYACyanuric Acid (stabilizer) — Sunscreen for your chlorine — it keeps sunlight from burning it off. The catch: the more you have, the more chlorine you need to keep. learn more → level, see our pool water chemistry guide.
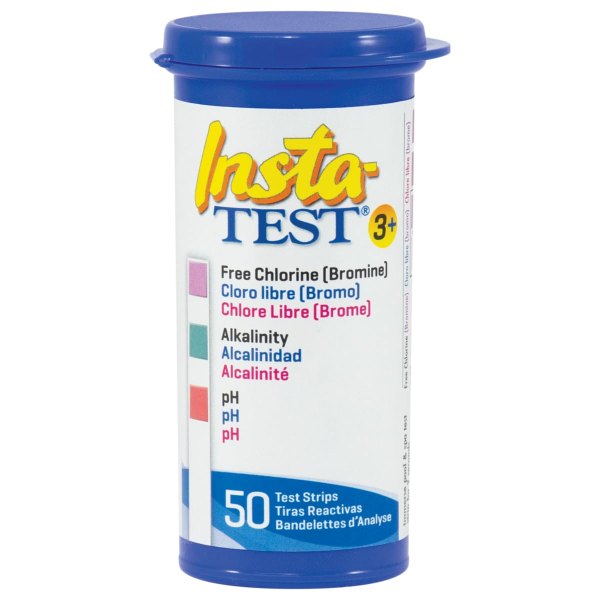 LaMotte Insta-Test 3 Pool Strips (50 ct)
Pro-grade 3-way strips from LaMotte — chlorine, pH & alkalinity, fast and accurate. Top-rated at 4.8★. View on Amazon →
LaMotte Insta-Test 3 Pool Strips (50 ct)
Pro-grade 3-way strips from LaMotte — chlorine, pH & alkalinity, fast and accurate. Top-rated at 4.8★. View on Amazon →
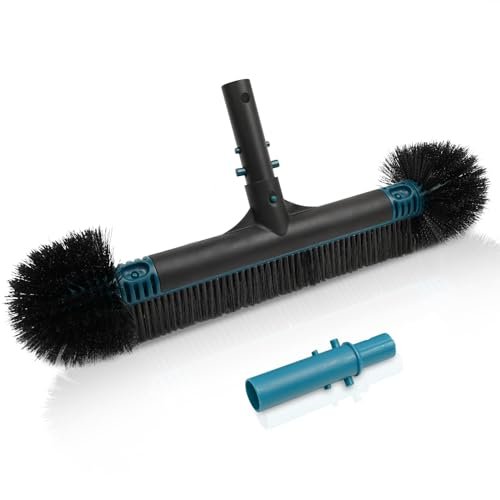 Poolvio 20" 2-in-1 Pool Brush Head (Walls & Floor)
Sturdy 20-inch brush head that clips onto any standard telescopic pole. View on Amazon →
Poolvio 20" 2-in-1 Pool Brush Head (Walls & Floor)
Sturdy 20-inch brush head that clips onto any standard telescopic pole. View on Amazon →
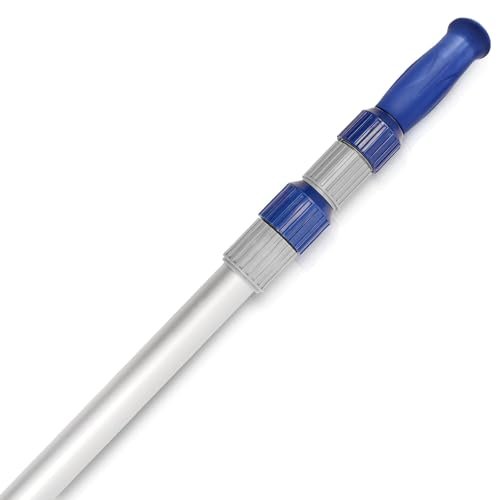 Poolvio 15 ft Telescopic Pool Pole (3-Piece Aluminum)
Telescoping pole that fits brushes, skimmer nets, and vacuum heads. View on Amazon →
Poolvio 15 ft Telescopic Pool Pole (3-Piece Aluminum)
Telescoping pole that fits brushes, skimmer nets, and vacuum heads. View on Amazon →
 Taylor K-2006C Complete FAS-DPD Pool & Spa Test Kit
The FAS-DPD kit pool pros trust — reads chlorine accurately even at shock/SLAM levels, plus pH, alkalinity, calcium hardness and CYA. View on Amazon →
Taylor K-2006C Complete FAS-DPD Pool & Spa Test Kit
The FAS-DPD kit pool pros trust — reads chlorine accurately even at shock/SLAM levels, plus pH, alkalinity, calcium hardness and CYA. View on Amazon →
Still need help? Ask a Pool & Spa Expert AD
Get a personalized answer from PoolGuy810 — 30 years owning a pool and spa repair company. Describe your issue and get step-by-step help.
Related Pool Guides
Need More Help?
Try our free pool calculators and tools to help diagnose and fix your pool problems.
Browse Pool ToolsSLAM calculator, pH calculator, salt dosing & more