Can Pool Jets Leak? Diagnosis & Repair Guide

Do pool jets actually leak or is it something else?
Read full question
I turned to a second opinion after my pool contractor quoted $3,000 to replumb my entire return system when I suspect these leaking jets might just need a simple repair. I keep losing water and can't pinpoint where it's going. The jets seem like the obvious suspect since they're these openings in the wall, but I honestly have no clue how they're put together or what could go wrong with them.
Is it even possible for the actual jets to leak? And if so, where would the leak typically happen - like around the edges where they meet the pool wall, or somewhere else entirely?
Quick Answer
Pool jets can indeed leak from loose fittings, cracked housings, or plumbing connections behind the wall. Most jet leaks occur at the fitting where the jet screws into the return line or from deteriorated gaskets and O-rings.
First, Let's Diagnose the Problem
Before jumping into repairs, we need to confirm that your jets are actually the source of the leak. Pool leaks can be tricky to locate since water follows the path of least resistance and may appear to be coming from one area when it's actually originating elsewhere.
Visual Inspection Method
Start by examining each return jet closely while the pump is running. Look for:
- Water bubbling or seeping around the jet fitting where it meets the pool wall
- Cracks in the plastic jet housing or eyeball directional fitting
- Loose or missing gaskets visible around the jet rim
- Calcium scale or discoloration around a jet (a weak clue on its own — scale usually tracks water chemistry and waterline evaporation, not leaks)
The Dye Test
For suspected jet leaks, use pool leak detection dye (or food coloring in a pinch). Turn the pump off first and let the water go completely still — this matters. Return jets are on the pressure side, so with the pump running a leak pushes water out into the wall or ground and your dye simply disperses; you won't see it drawn in. With the pump off, hydrostatic pressure pushes pool water out through the gap instead, so dye released right at the fitting gets pulled into the leak point and shows you exactly where it is. (A pool that loses more water with the pump running is itself a good sign the leak is on the return/pressure side — which is what points you to the jets in the first place.)
Pressure Testing
If you suspect plumbing leaks behind the jets, you'll need to isolate the return line. Close the return line valve (if available) or plug the jets with expandable test plugs, then pressurize the line. A pressure drop indicates a leak somewhere in that plumbing run.
Common Jet Leak Causes and Solutions
Know Which Part Is Actually Leaking
What people call "the jet" is really three parts, and they don't all leak: the eyeball/directional fitting that snaps or screws into the face (water flows through this by design — it isn't a seal, so it doesn't meaningfully "leak"), the wall return fitting it threads into, and the fitting-to-PVC joint behind the wall. Real jet leaks are almost always at the wall fitting or that joint behind the wall — not the eyeball. So removing the eyeball and wrapping its threads with Teflon tape won't stop a true leak.
What you can check yourself: with the pump off, inspect the wall fitting and its gasket (on vinyl and fiberglass pools) for cracks or a loose, hardened seal, and replace the gasket if that's the problem. If the leak is in the fitting body or the PVC joint behind the wall, that's behind the structure and generally needs a pro — it isn't something you reach by hand-unscrewing the face fitting.
Worn Gaskets and O-Rings
On vinyl-liner and fiberglass pools, the return fitting uses rubber gaskets that sandwich and seal against the wall/liner, and these deteriorate over time from chlorine and UV. (Plastered concrete pools are different — the fitting is plumbed and grouted in place with no wall gasket, so don't go hunting for one that isn't there.)
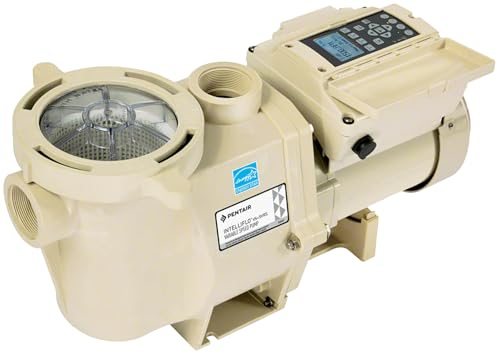
Solution: Remove the jet and inspect all gaskets and O-rings. Replace any that are cracked, hardened, or deformed. When reinstalling, apply a thin layer of silicone lubricant to help the gasket seat properly. Popular jet manufacturers like Hayward, Pentair, and Jandy have readily available gasket replacement kits.
Cracked Jet Housings
Plastic jet housings can crack from overtightening, freezing, or simply age-related brittleness. Even small hairline cracks can allow significant water loss.
Solution: Cracked housings need complete replacement. Note the jet model (usually stamped on the housing) before removal. When installing the new jet, use pipe thread sealant and avoid overtightening. If the threaded fitting in the wall is also damaged, you may need professional help to replace the internal fitting.
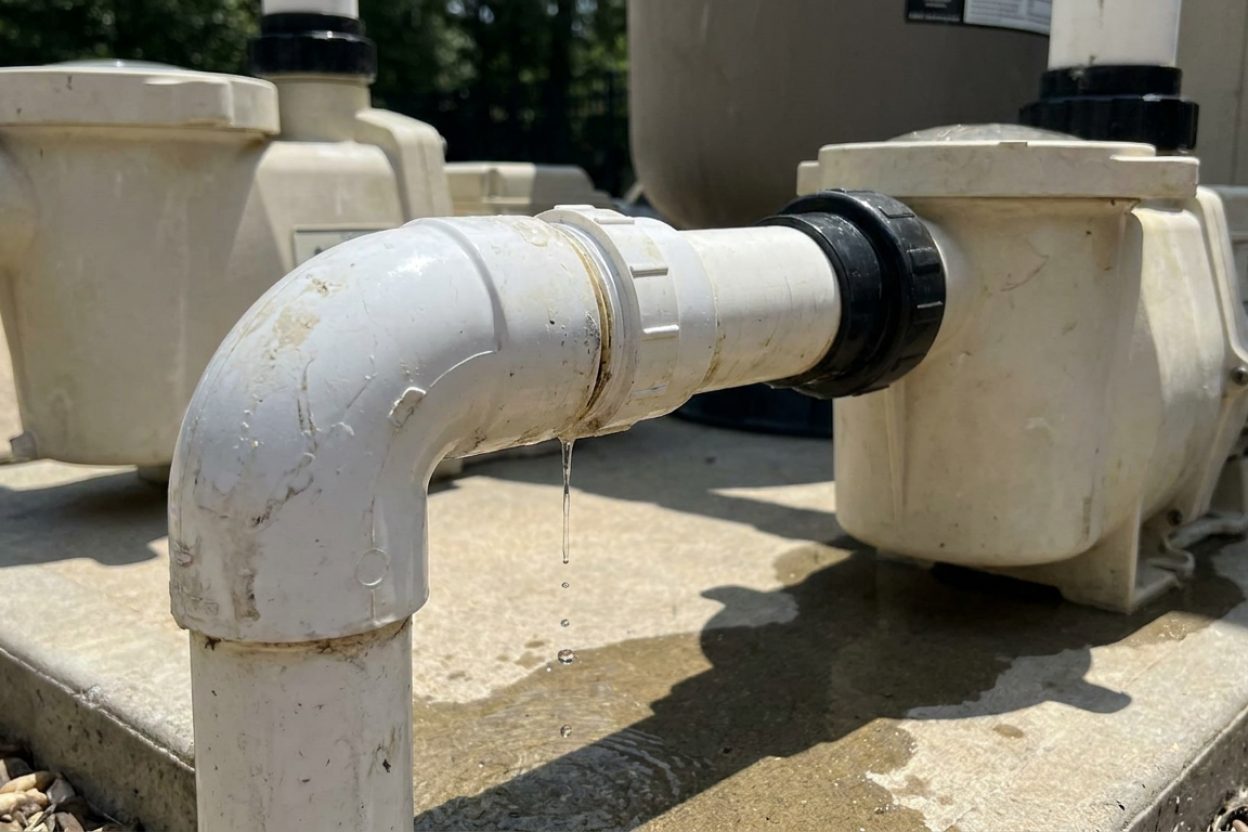
Plumbing Line Leaks
Sometimes the leak is in the PVC plumbing behind the jet, not the jet itself. This is more serious and often requires professional repair.
Solution: If pressure testing confirms a line leak, the repair typically involves cutting into the pool deck or wall to access the damaged pipe. This is generally not a DIY job and requires professional pool repair services, especially if the leak is under the pool deck.
Step-by-Step Repair Process
- Turn off the pool pump and allow water circulation to stop completely
- Remove the suspected leaking jet by unscrewing counterclockwise. Some jets have a removable eyeball that unscrews separately from the main housing
- Inspect all components: Check threads, gaskets, O-rings, and the housing for damage. Also inspect the threaded fitting in the pool wall
- Clean the threads in both the jet and wall fitting, removing any old sealant or debris
- Replace worn components: Install new gaskets, O-rings, or the entire jet assembly if needed
- Apply thread sealant: Wrap threads with Teflon tape (3-4 wraps) or apply pipe thread sealant
- Reinstall the jet: Thread it in by hand until snug — hand-tight only. Don't use pliers on a plastic fitting; that's exactly how hairline cracks start
- Test the repair: Start the pump and check for leaks. Use dye testing again to confirm the repair was successful
Prevention Tips
Regular maintenance can prevent most jet leaks:
- Inspect jets monthly during routine pool cleaning
- Don't overtighten when removing and reinstalling jets for cleaning
- Replace gaskets proactively every 2-3 years in high-chlorine environments
- Maintain proper water chemistry to reduce corrosion and degradation of rubber components
- During winterization, ensure jets are properly drained to prevent freeze damage
Important Safety Note: Always turn off electrical power to pool equipment before working on jets or plumbing. If you're uncomfortable with any aspect of the repair or suspect major plumbing damage, consult a professional pool technician.
Still need help? Ask a Pool & Spa Expert AD
Get a personalized answer from PoolGuy810 — 30 years owning a pool and spa repair company. Describe your issue and get step-by-step help.
Need More Help?
Try our free pool calculators and tools to help diagnose and fix your pool problems.
Browse Pool ToolsSLAM calculator, pH calculator, salt dosing & more