Can Pool Leak Through Plaster? Causes & Detection Guide

Is my plaster actually leaking or are pool stores just upselling me?
Read full question
Every time I check my pool it's down another few inches, the pool store wants $300 for leak detection, AND they're already pushing a full replaster job. Before I drop thousands of dollars, I need to know - can water actually leak through the plaster itself or are they just trying to make money off me?
I've noticed some hairline cracks and a few rough spots where the plaster feels different, but I'm not sure if that's normal wear or actual leak points. Is there a way I can test this myself instead of paying their ridiculous diagnostic fees? I'm tired of these stores pushing expensive solutions when maybe it's something I can identify and even fix on my own.
Quick Answer
Yes, pools can leak through plaster when cracks develop, the plaster becomes porous, or the bond between plaster and gunite fails. Most plaster leaks occur at structural stress points and can be detected through bucket tests and visual inspection. Proper chemical maintenance, regular inspections, and professional assessments are crucial for preventing and addressing plaster leaks.
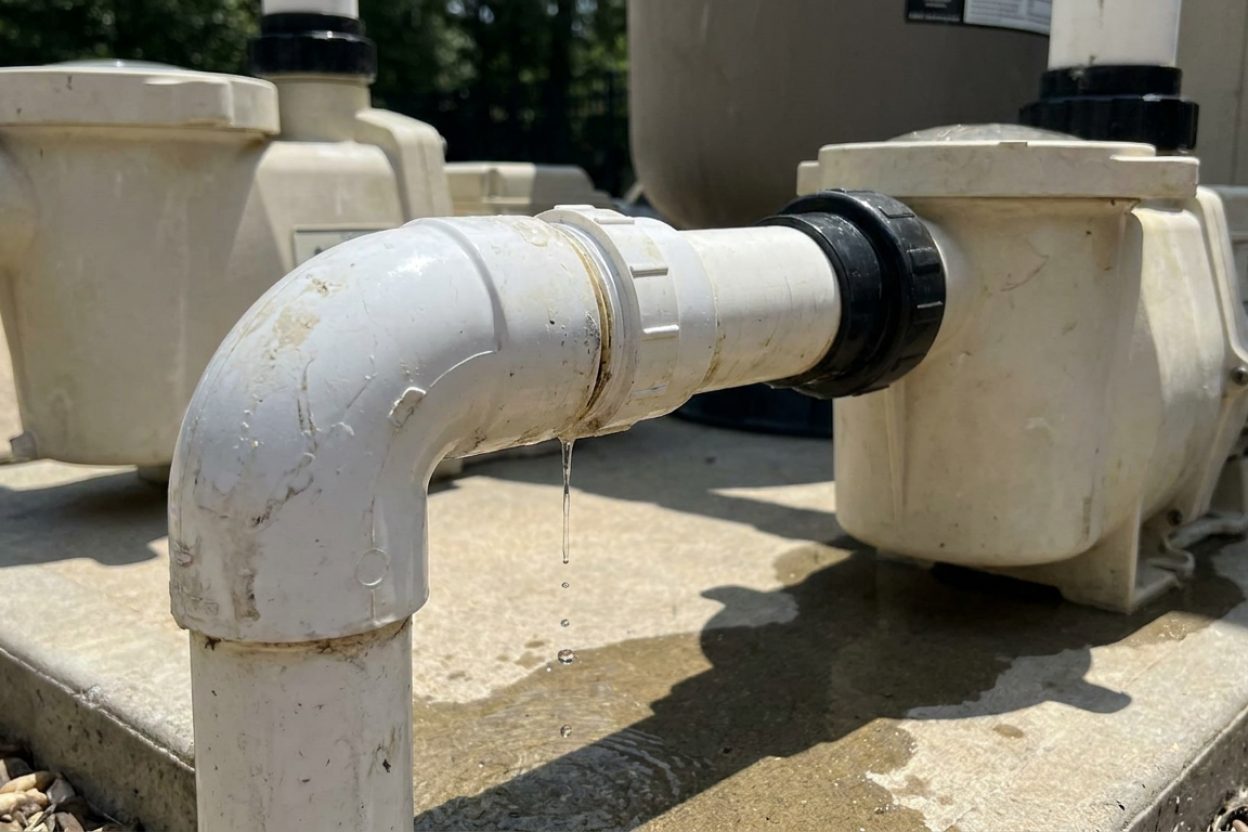
One reassurance up front: the hairline and surface "check" cracks most homeowners worry about usually do not leak, and the most common real leaks are at the skimmer, return fittings, main drain, and underground plumbing — not through the plaster body itself. A simple bucket and dye test often saves an unnecessary replaster, so it's worth confirming before you accept a quote.
How Plaster Develops Leaks
Structural Cracking
The most common cause of plaster leaks is cracking that penetrates through the full thickness of the plaster layer. These cracks typically develop at stress concentration points including:
- Pool corners and returns where structural loads concentrate
- Light niches and skimmer connections
- Step interfaces and bench areas
- Areas where plumbing penetrates the shell
- Expansion joints that have failed or been improperly sealed
Porosity and Permeability Issues
Even without visible cracks, plaster can become permeable enough to allow water seepage. This occurs when:
- The plaster mix ratio was incorrect during application
- Improper curing allowed excessive drying
- Chemical imbalances have etched the surface, creating microscopic pathways
- Age-related deterioration has increased porosity
Bond Failure
Sometimes the plaster itself remains intact but separates from the underlying gunite shell, creating a pathway for water to migrate behind the plaster and find exit points elsewhere.
Detecting Plaster Leaks
Visual Inspection Techniques
Start with a thorough visual inspection (note: fully draining a pool carries pop-up/structural risk, so for many inspections you can work with the pool full or only partially lowered):
- Look for obvious cracks, particularly hairline cracks that may be hard to spot when underwater
- Check for areas where the plaster appears darker or discolored, which may indicate water infiltration
- Examine all penetrations including lights, returns, skimmers, and drain covers
- Pay special attention to corners, steps, and any structural transitions
- Use a flashlight held at a shallow angle to highlight surface irregularities
Bucket Test Method
Before assuming plaster leaks, confirm your pool is actually losing water beyond normal evaporation:
- Fill a bucket with pool water and place it on a pool step, submerged to match the pool water level
- Mark both water levels clearly
- Run the pump on its normal schedule and wait 24-48 hours without using the pool. If the bucket test shows a leak, repeat it with the pump OFF: if water loss stops with the pump off, the leak is in the pressure-side plumbing; if it loses water both ways, the leak is in the shell or fittings
- If the pool water level drops more than the bucket level, you have a leak
- If levels drop equally, water loss is due to evaporation
Dye Testing for Active Leaks
Once you've identified potential problem areas, use leak detection dye:
- Purchase pool leak detection dye from a pool supply store
- With the pool pump off and water still, apply dye near suspected leak areas
- Watch for dye movement - it will be drawn toward active leaks
- Test around all plaster cracks, penetrations, and discolored areas
- Mark positive locations with waterproof leak detection chalk for later reference
Factors That Accelerate Plaster Leaks
Chemical Imbalance Damage
Improper water chemistry significantly contributes to plaster deterioration and eventual leaking:
- Low pH (below 7.2): Creates acidic conditions that etch and weaken plaster structure
- Low Total Alkalinity (below 80 ppm): Allows pH to fluctuate wildly, stressing the plaster
- Low Calcium Hardness (below 200 ppm): Makes water aggressive, causing it to leach calcium from plaster
- High chlorine levels: Sustained FCFree Chlorine — The chlorine actively sanitizing your water right now. This is the number you keep an eye on. how much you need → above 10 ppm can bleach and weaken plaster over time
Maintain proper chemistry using the following targets: pH 7.4-7.6, Total Alkalinity 80-120 ppm, Calcium Hardness 250-350 ppm for plaster pools (newer plaster may require lower levels - consult manufacturer specifications), and Free Chlorine the right level for your CYACyanuric Acid (stabilizer) — Sunscreen for your chlorine — it keeps sunlight from burning it off. The catch: the more you have, the more chlorine you need to keep. learn more → (typically 4-8 ppm for a stabilized outdoor pool with CYA 30-50 ppm) with CYA at 30-50 ppm. For the free chlorine level for your CYA, use our all-in-one pool calculator.
Age and Thermal Cycling
Plaster naturally becomes more prone to leaking as it ages, typically showing increased permeability after 10-15 years. Daily temperature changes cause expansion and contraction cycles that stress the plaster, particularly at interfaces with different materials.
Prevention and Maintenance
Proper Chemical Maintenance
The best prevention is maintaining balanced water chemistry consistently:
- Test water 2-3 times per week using a quality test kit like Taylor K-2006
- Keep pH between 7.4-7.6 using muriatic acid to lower or sodium carbonate to raise
- Maintain Total Alkalinity at 80-120 ppm using sodium bicarbonate
- Keep Calcium Hardness at 250-350 ppm, adding calcium chloride if needed
- Avoid rapid chemical changes that shock the plaster
Regular Inspections
Conduct monthly visual inspections of your plaster, looking for new cracks or changes in existing ones. Address small issues before they become major leak points.
Professional Assessment
Have your plaster professionally evaluated every 3-5 years, or immediately if you notice persistent water loss, new cracks, or surface deterioration.
When to Call Professionals
Contact a pool professional immediately if:
- Water loss exceeds 1/8 inch per day beyond normal evaporation
- You find structural cracks longer than 6 inches
- Multiple leak points are detected
- The plaster shows widespread deterioration
- You're unable to locate the leak source after thorough testing
Professional leak detection services use specialized equipment including pressure testing, electronic listening devices, and thermal imaging to locate leaks that may not be visible during standard inspection.
For the full breakdown of safe chlorine levels by CYA level, see our pool water chemistry guide.

Still need help? Ask a Pool & Spa Expert AD
Get a personalized answer from PoolGuy810 — 30 years owning a pool and spa repair company. Describe your issue and get step-by-step help.
Need More Help?
Try our free pool calculators and tools to help diagnose and fix your pool problems.
Browse Pool ToolsSLAM calculator, pH calculator, salt dosing & more